DIY Toy Storage Ideas for Small Spaces That Actually Work
Struggling to keep toys under control in a tiny space? You’re not alone. With a few smart DIY tricks, you can create functional, attractive toy storage that fits even the smallest rooms—without breaking the bank or your sanity.
Key Takeaways
- Use vertical space: Wall-mounted shelves, pegboards, and hanging organizers free up floor space and keep toys visible and accessible.
- Repurpose household items: Turn old crates, baskets, or shoe organizers into charming, budget-friendly storage solutions.
- Choose multi-functional furniture: Ottomans, benches, and beds with built-in storage double as seating or sleeping space while hiding toys out of sight.
- Label everything: Clear labels help kids know where things go, making cleanup faster and more consistent.
- Keep it simple and scalable: Start small with one or two projects, then expand as needed—DIY storage should grow with your family.
- Involve your kids: Let them help build or decorate storage bins; they’re more likely to use what they helped create.
- Prioritize safety and accessibility: Store heavier items low and ensure bins are easy for little hands to open and close.
Quick Answers to Common Questions
What’s the easiest DIY toy storage project for beginners?
The easiest project is repurposing a shoe organizer. Hang it on a door or wall and fill the pockets with small toys. No tools or building required—just instant organization.
How can I make toy storage safe for toddlers?
Use soft-edged bins, secure wall-mounted items with anchors, and store heavy items low. Avoid small parts that could be choking hazards and ensure lids are easy to open.
Can DIY storage really save money?
Yes! Many DIY solutions use items you already own, like crates, jars, or baskets. Even when buying materials, costs are often lower than pre-made storage units.
How do I keep kids motivated to clean up?
Use labeled bins with pictures, make cleanup a game, and praise effort. Letting kids help design their storage also increases their willingness to use it.
What’s the best way to store LEGO and small parts?
Use divided trays, small jars, or compartmentalized bins. Clear containers let kids see what’s inside, and labels help them sort pieces by color or type.
📑 Table of Contents
- Why DIY Toy Storage Makes Sense for Small Spaces
- Maximize Vertical Space with Wall-Mounted Solutions
- Repurpose Everyday Items into Creative Storage
- Build Multi-Functional Furniture with Hidden Storage
- Use Bins, Baskets, and Labels for Easy Cleanup
- Involve Your Kids in the DIY Process
- Final Thoughts: Storage That Grows with Your Family
Why DIY Toy Storage Makes Sense for Small Spaces
Let’s face it—small spaces and kids don’t always mix well. Toys seem to multiply overnight, and before you know it, your living room looks like a toy tornado hit it. But here’s the good news: you don’t need a huge playroom or a massive budget to keep things tidy. DIY toy storage ideas for small spaces are not only practical—they’re often more creative, affordable, and fun than store-bought options.
When you build your own storage, you get to tailor it to your exact needs. Got a narrow hallway? Turn it into a toy display zone. Have a tiny closet under the stairs? That’s prime real estate for bins and baskets. The key is thinking outside the box—literally. With a little imagination and some basic tools, you can transform unused corners, blank walls, and even furniture into smart storage hubs that actually work.
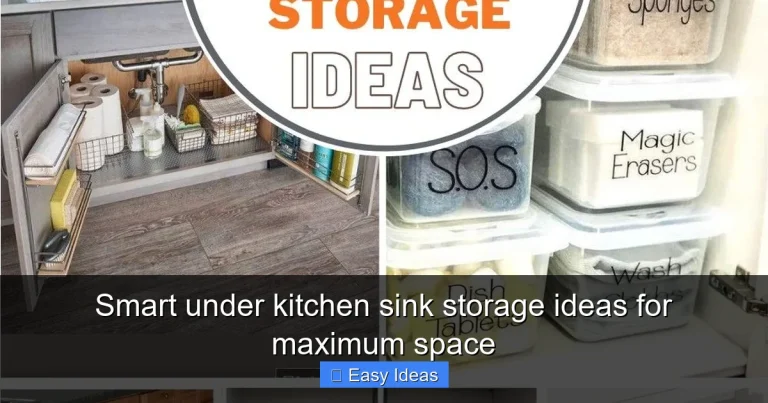
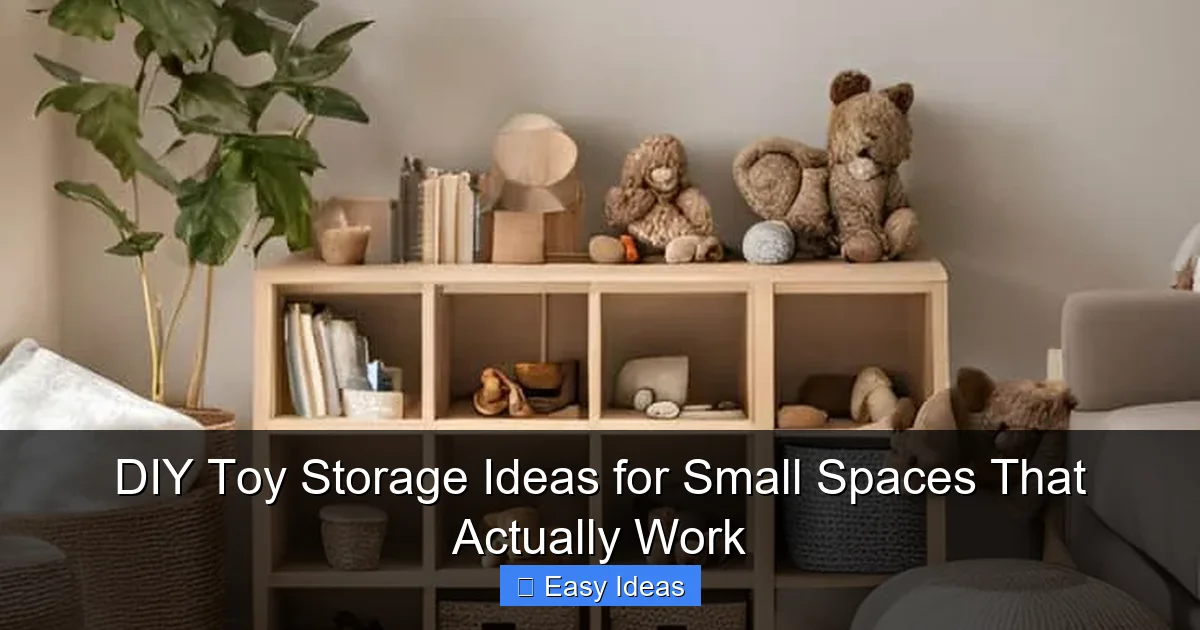
Maximize Vertical Space with Wall-Mounted Solutions
Visual guide about DIY Toy Storage Ideas for Small Spaces That Actually Work
Image source: involvery.com
One of the biggest mistakes people make in small spaces is ignoring the walls. Floor space is precious, but walls? They’re basically free real estate. Wall-mounted storage keeps toys off the ground, reduces clutter, and can even double as decor.
Pegboards: The Ultimate Customizable Organizer
Pegboards are a game-changer for toy storage. Originally used in garages for tools, they’ve become a favorite in kids’ rooms for their flexibility. You can hang bins, hooks, baskets, and shelves at any height—perfect for growing kids. A standard 2×4-foot pegboard costs under $20 and can hold dozens of toys, art supplies, or even dress-up clothes.
To make it kid-friendly, paint the pegboard in a fun color and use clear plastic bins so little ones can see what’s inside. Add labels with pictures for non-readers. Bonus: pegboards are easy to reconfigure as your child’s interests change—swap out bins for LEGO trays one week, then switch to doll accessories the next.
Floating Shelves for Display and Storage
Floating shelves aren’t just for books and knick-knacks. They’re perfect for showcasing favorite toys, board games, or collectibles while keeping them organized. Install a few narrow shelves above a bed or desk to create a “toy gallery.” Use them to display stuffed animals, action figures, or model cars.
For a DIY twist, try using reclaimed wood or painted pine boards. Add small baskets or fabric bins on the shelves to corral smaller items like LEGO pieces or crayons. Just make sure shelves are securely anchored—especially in homes with active kids.
Over-the-Door Organizers for Hidden Storage
Don’t underestimate the power of a door. Over-the-door organizers—usually used for shoes—are fantastic for toys. Hang one on the back of a bedroom or closet door and fill the pockets with puzzles, small figurines, crayons, or even dress-up accessories.
Look for organizers with clear pockets so kids can see what’s inside. Some even come with hooks for hanging dolls or toy bags. This is a zero-footprint solution that’s especially helpful in apartments or shared rooms.
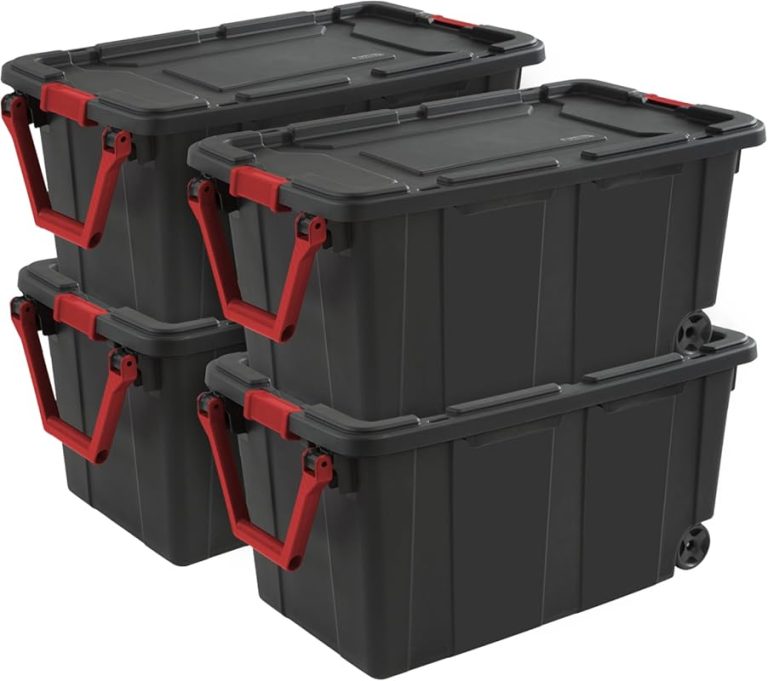
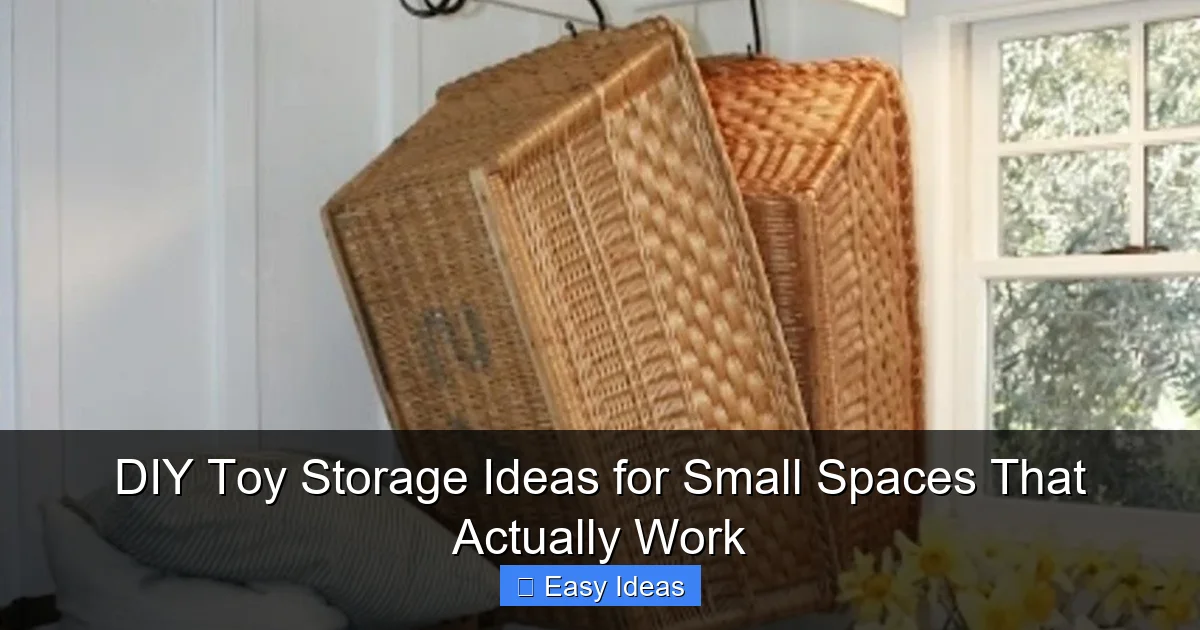
Repurpose Everyday Items into Creative Storage
Visual guide about DIY Toy Storage Ideas for Small Spaces That Actually Work
Image source: mnmomma.com
You don’t need to buy fancy storage bins to get organized. Some of the best DIY toy storage ideas come from items you already have at home. Repurposing saves money, reduces waste, and adds a personal touch.
Wooden Crates and Wine Boxes
Old wooden crates—like those used for produce or wine—make charming, rustic storage bins. Stack them horizontally or vertically and secure them to the wall for a built-in shelf look. Paint them in bright colors or let kids decorate them with stickers and markers.
Use one crate for stuffed animals, another for art supplies, and a third for building blocks. Add handles with rope or leather straps for easy carrying. These crates are sturdy, stackable, and fit perfectly under beds or in closets.
Mason Jars and Glass Containers
Got a collection of tiny toys? Mason jars are perfect for sorting and storing small items like LEGO bricks, marbles, or beads. Screw on colorful lids or paint the jars for a personalized touch. Label each jar with a sticker or tag so kids know what goes where.
Group jars on a tray or in a shallow basket to keep them from rolling around. You can even mount them under a shelf or on a wall using jar hangers. This keeps tiny parts contained and makes cleanup a breeze.
Shoe Organizers and Hanging Bags
That over-the-door shoe organizer you used in college? It’s back—and better than ever. These mesh pockets are ideal for small toys, craft supplies, or even board game pieces. Hang one in a closet, on a wall, or behind a door.
For a more decorative look, try a fabric hanging organizer with larger compartments. Use it to store dolls, action figures, or even books. Some versions come with hooks or loops for hanging on a rod or hook.
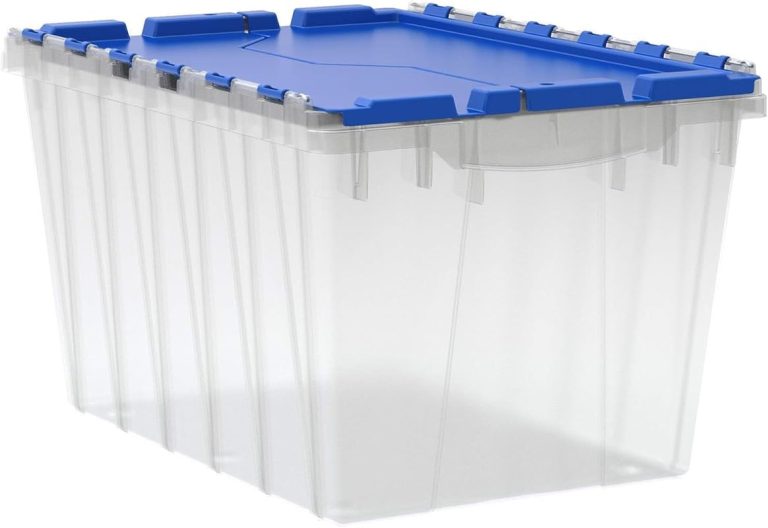
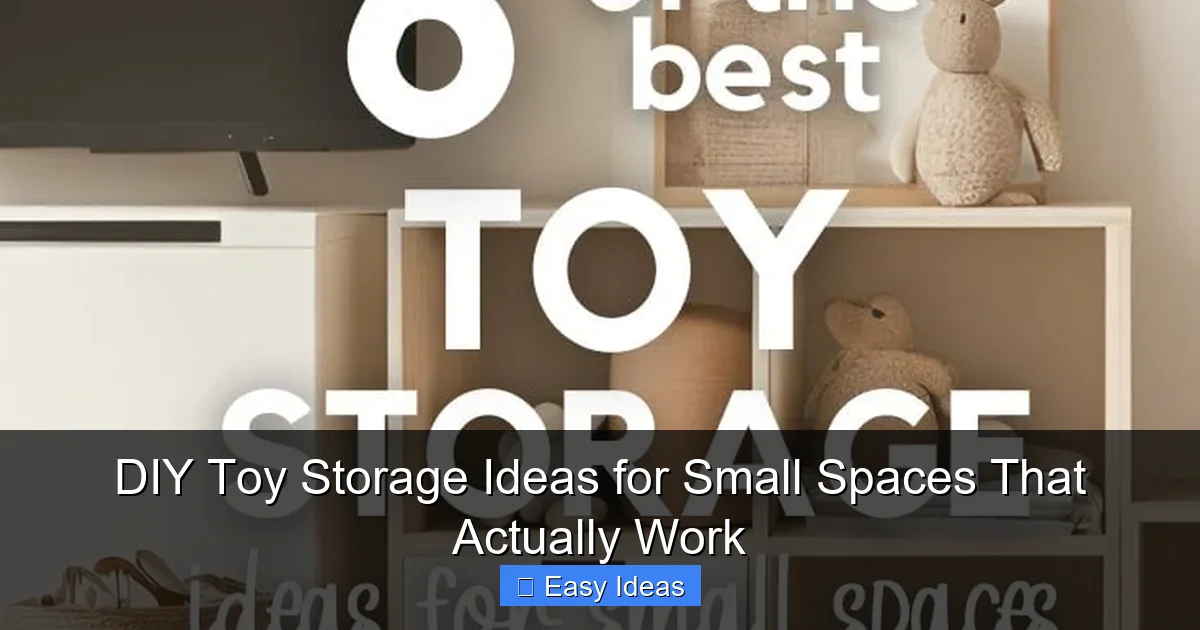
Build Multi-Functional Furniture with Hidden Storage
Visual guide about DIY Toy Storage Ideas for Small Spaces That Actually Work
Image source: familyadvices.com
In small spaces, every piece of furniture should earn its keep. That’s why multi-functional furniture is a must. Look for—or build—pieces that do double duty: seating that stores toys, beds with drawers, or tables with hidden compartments.
Storage Ottomans and Benches
A storage ottoman is like a Swiss Army knife for small spaces. It’s a footrest, extra seating, and a toy bin all in one. Choose one with a hinged lid so kids can easily toss in toys at cleanup time.
For a DIY version, repurpose an old trunk or build a simple wooden box with a padded top. Add casters for mobility, and cover the top with fabric that matches your room decor. Use it at the foot of a bed or in front of a couch.
Beds with Under-Storage
If your child’s bed sits close to the floor, you’re wasting valuable space. Raise the bed on risers or build a platform with built-in drawers. Even a simple bed frame with rolling bins underneath can hold dozens of toys.
For younger kids, consider a loft bed with a desk or play area underneath. The space beneath can house a toy shelf, reading nook, or art station. Just make sure the structure is safe and stable.
Fold-Down or Wall-Mounted Tables
Need a play surface but short on space? A fold-down table mounted to the wall can be a game-changer. When not in use, it folds flat against the wall. When it’s time to play, flip it down and let the fun begin.
Add a small shelf or bin below the table to store crayons, paper, or puzzles. This setup works great in bedrooms, kitchens, or even hallways. Paint the table in a fun color to make it feel inviting.
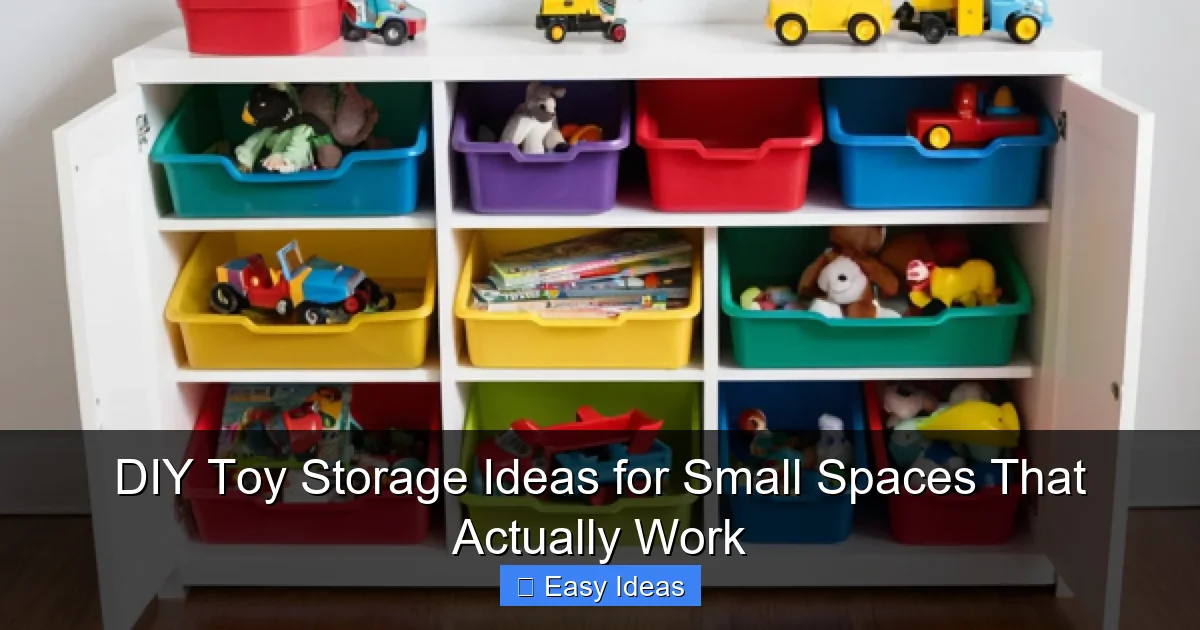
Use Bins, Baskets, and Labels for Easy Cleanup
No matter how clever your storage system is, it won’t work if kids can’t—or won’t—use it. That’s where bins, baskets, and labels come in. The right containers make cleanup quick, and labels teach responsibility.
Choose the Right Bins for the Job
Not all bins are created equal. For small toys, use shallow, open bins so kids can see and reach everything. For stuffed animals, try tall, fabric baskets that prevent squishing. For art supplies, opt for divided trays or caddies.
Look for bins with handles—they make carrying easier. Avoid overly large bins; they encourage overstuffing and make it hard to find things. A few well-sized bins are better than one giant one.
Label Everything—Even for Toddlers
Labels aren’t just for adults. Use pictures, colors, or words to help kids know where things go. Print simple icons—like a crayon for art supplies or a teddy bear for stuffed animals—and tape them to bins.
You can make labels yourself with cardstock and tape, or buy pre-made ones online. Some parents even let kids draw their own labels—this adds a personal touch and boosts engagement.
Create a “Toy Rotation” System
Instead of storing all toys at once, try a rotation system. Keep a few toys out at a time and store the rest in labeled bins in a closet or under the bed. Rotate them every few weeks to keep things fresh.
This reduces clutter, prevents overwhelm, and makes cleanup faster. Plus, your child will feel excited when “new” toys reappear. Use clear bins so you can see what’s inside without opening them.
Involve Your Kids in the DIY Process
One of the best parts of DIY toy storage? Getting the kids involved. When children help build or decorate their storage, they’re more likely to use it—and take pride in keeping it tidy.
Let Them Decorate Their Bins
Give your child markers, stickers, or paint and let them personalize their storage bins. A bin decorated with their favorite superhero or animal becomes “their” space. This simple act builds ownership and responsibility.
Make It a Family Project
Turn storage building into a weekend activity. Paint crates together, assemble a pegboard, or sew fabric bins. Play music, grab snacks, and make it fun. These shared moments create memories—and a cleaner room.
Teach Through Play
Use cleanup time as a teaching moment. Sing a cleanup song, set a timer, or turn it into a game. “Who can put five toys away first?” or “Let’s see if we can beat our last time!” Positive reinforcement goes a long way.
Final Thoughts: Storage That Grows with Your Family
DIY toy storage ideas for small spaces aren’t just about tidying up—they’re about creating a functional, joyful environment where your family can thrive. The best solutions are simple, adaptable, and built with love.
Start small. Try one project—a pegboard, a set of labeled bins, or a storage ottoman. See what works, then build from there. Remember, the goal isn’t perfection. It’s progress. A little organization goes a long way in reducing stress and making room for what really matters: play, laughter, and connection.
With a few creative tweaks, even the tiniest space can feel spacious, calm, and full of possibility.
🎥 Related Video: Toy Organization #sahm #toyorganization #cleaning #organization #voiceover #momlife #sahmroutine
📺 Rosa Picosa at Home
Frequently Asked Questions
Are DIY toy storage ideas durable enough for daily use?
Yes, when built properly. Use sturdy materials like wood, metal brackets, or heavy-duty fabric. Reinforce joints and anchor wall-mounted items to studs for safety.
Can I DIY toy storage without power tools?
Absolutely. Many projects—like painting crates, using over-the-door organizers, or assembling bins—require only basic supplies like glue, tape, or a hammer.
How do I organize toys in a shared bedroom?
Use color-coded bins or labels for each child. Assign specific shelves or baskets and involve both kids in setting up the system to encourage cooperation.
What’s the best way to store stuffed animals?
Use tall fabric bins, hanging mesh organizers, or under-bed storage bags. Avoid overstuffing to keep animals clean and easy to find.
How often should I rotate toys to reduce clutter?
Every 2–4 weeks is ideal. Rotating toys keeps them feeling new and prevents overwhelm. Store unused toys in labeled bins in a closet or under the bed.
Can DIY storage work in rental apartments?
Yes! Use removable solutions like over-the-door organizers, freestanding shelves, or adhesive hooks. Avoid permanent changes to walls or floors.