How to Build a Closet Organizer: Easy Steps for Perfect Storage
Are you tired of digging through a messy closet every morning? Imagine opening your closet and instantly finding exactly what you need.
Building a closet organizer can turn that dream into reality. In this guide, you’ll learn simple, step-by-step tips to create a space that saves you time and reduces stress. Whether your closet is big or small, you’ll discover practical solutions that fit your style and needs.
Ready to transform your clutter into calm? Let’s get started!
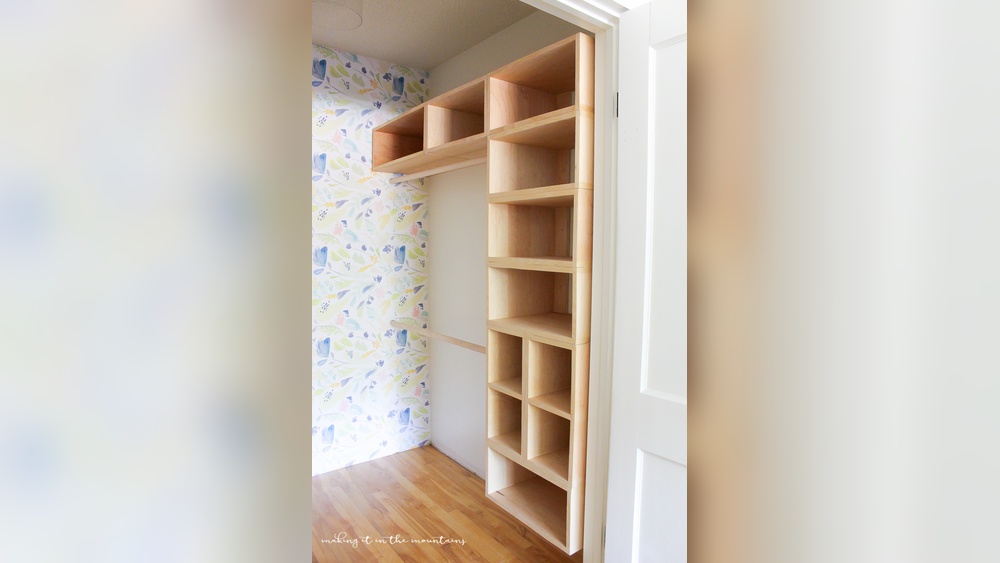
Credit: ittybittyfarmhouse.com
Planning Your Closet Organizer
Planning your closet organizer is the first step to a tidy space. A good plan saves time and money. It helps you build a closet that fits your needs perfectly. Take time to think about what you want to store and how much space you have. This makes the project easier and more effective.
Assessing Your Storage Needs
Look at what you want to keep in your closet. Clothes, shoes, bags, or accessories? Count the items to estimate space. Think about the types of storage you need. Shelves for shoes, rods for hanging clothes, or drawers for small items. Make a list to guide your design. This ensures your organizer matches your daily use.
Measuring Your Closet Space
Use a tape measure to get exact dimensions of your closet. Measure width, height, and depth carefully. Check for obstacles like light switches or vents. Write down all measurements. This helps you plan shelves and rods that fit well. Accurate measurements prevent costly mistakes and wasted materials.
Choosing The Right Materials
Select materials based on durability and style. Wood offers a classic look and strong support. Metal is sturdy and modern. Plastic can be budget-friendly and lightweight. Consider moisture and weight too. Choose materials easy to clean and maintain. Good materials make your organizer last longer and look better.
Gathering Tools And Supplies
Gathering the right tools and supplies is the first step to building a closet organizer. Having everything ready makes the work smoother and faster. It also helps to avoid interruptions during the project. Planning this part carefully saves time and effort.
Essential Tools For The Project
Start with basic tools like a tape measure and pencil for marking. A drill is necessary for making holes and driving screws. A level ensures shelves and rods stay straight. A saw helps cut wood to size. Screwdrivers and a hammer come in handy for assembly. Safety gear like gloves and goggles protects you during work.
Selecting Hardware And Accessories
Choose strong brackets to hold shelves firmly. Pick screws that fit the wood thickness. Drawer slides should be smooth and sturdy. Closet rods must support the weight of clothes. Hooks and hangers add extra storage options. Select finishes that match your closet style and resist wear.
Designing The Layout
Designing the layout is the first step to build a closet organizer that fits your needs. This plan helps use your space smartly and keeps your items easy to find. Think about what you want to store and how often you use each item. Organize the space to suit your daily routine and storage needs.
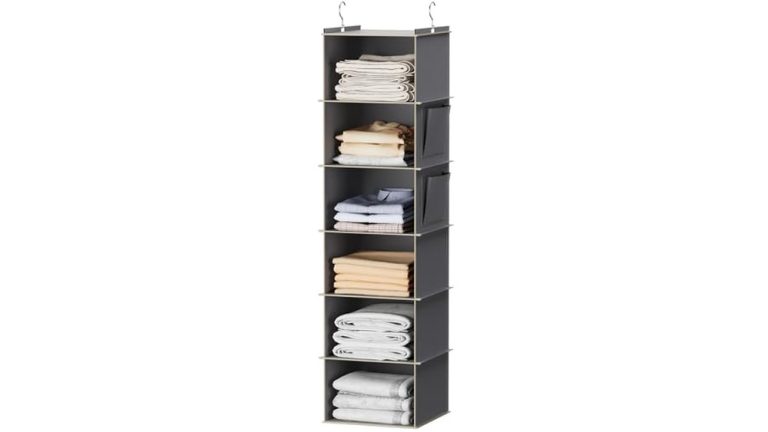
Maximizing Vertical Space
Use the full height of your closet to gain extra storage. Tall shelves let you store boxes or bags above your head. Stack items carefully to avoid clutter. Use clear containers so you see what is inside without opening them. Consider adding a small step stool for easy access to high areas.
Incorporating Shelves And Drawers
Shelves are great for folded clothes and shoes. Drawers keep smaller items neat and hidden. Use wide shelves for bulky items and narrow ones for small things. Install adjustable shelves to change the height as needed. Drawers with dividers help separate socks, ties, and jewelry for quick access.
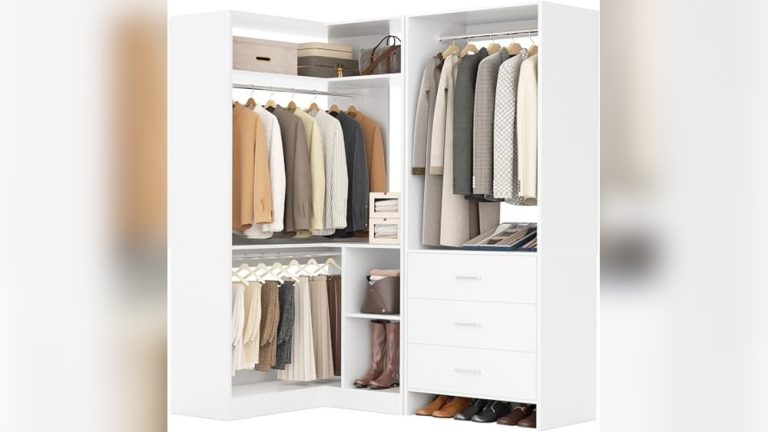
Adding Hanging Rods And Hooks
Hanging rods store clothes that wrinkle easily, like shirts and jackets. Use double rods to hang more clothes in less space. Hooks on the walls hold belts, scarves, or bags. Place hooks at different heights for better use of space. Choose sturdy rods and hooks to hold heavy items safely.
Credit: www.lovelyetc.com
Building The Framework
Building the framework is the first step to creating a strong closet organizer. This part gives your closet structure and support. A solid frame holds shelves and rods safely. Focus on accuracy and sturdiness for the best results.
Start by preparing the wood. Cut pieces carefully and check their sizes. Then, join the parts to form the frame. Last, attach the frame to the wall for stability. Follow these steps for a lasting closet organizer.
Cutting And Preparing Wood
Measure the space in your closet accurately. Mark the wood according to your measurements. Use a saw to cut the pieces straight and clean. Sand the edges to avoid splinters and rough spots. Organize the wood pieces by size and type.
Assembling The Frame
Lay out the wood pieces on a flat surface. Connect vertical and horizontal parts with screws or nails. Use a carpenter’s square to keep corners at 90 degrees. Check the frame for stability and make adjustments. Tighten all connections before moving to the next step.
Securing To Walls
Find wall studs using a stud finder tool. Align the frame with the studs for strong support. Drill pilot holes through the frame into the studs. Use long screws to fasten the frame tightly. Confirm the frame is level and steady before finishing.
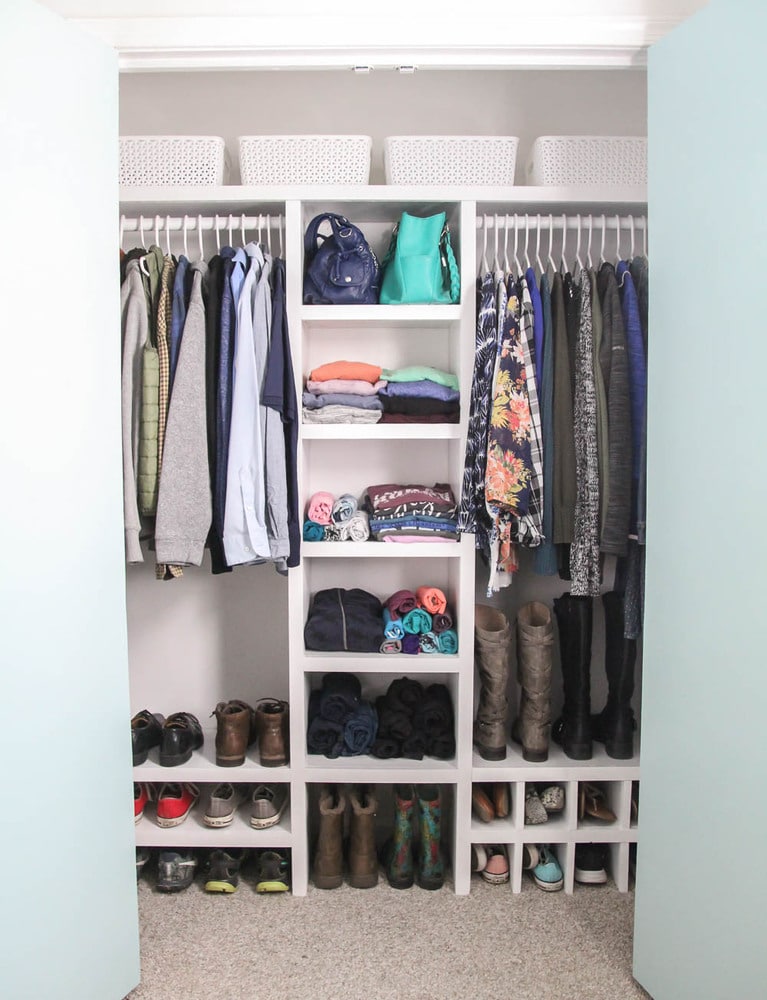
Installing Shelves And Drawers
Installing shelves and drawers is a key step in building a closet organizer. This step helps create space and keeps your closet neat. Properly installed shelves hold your items securely. Drawers add extra storage for small things and keep them out of sight.
Measuring And Cutting Shelves
Start by measuring the closet space carefully. Measure width, depth, and height for each shelf. Write down all measurements. Use a saw to cut the shelves to the right size. Cut slowly and follow safety rules. Sand edges for a smooth finish. Accurate cuts make shelves fit perfectly.
Attaching Shelves And Supports
Find the right spots on the wall for shelf supports. Use a level to keep shelves straight. Attach supports firmly with screws. Place shelves on the supports. Check if shelves sit flat and steady. Secure shelves with extra screws if needed. Strong support stops shelves from sagging.
Installing Drawer Slides
Choose drawer slides that fit your drawer size. Mark slide positions inside the closet frame. Attach slides carefully using screws. Make sure slides are level and aligned. Insert drawers into the slides gently. Test drawer movement by opening and closing. Smooth slides make drawers easy to use.

Credit: www.remodelaholic.com
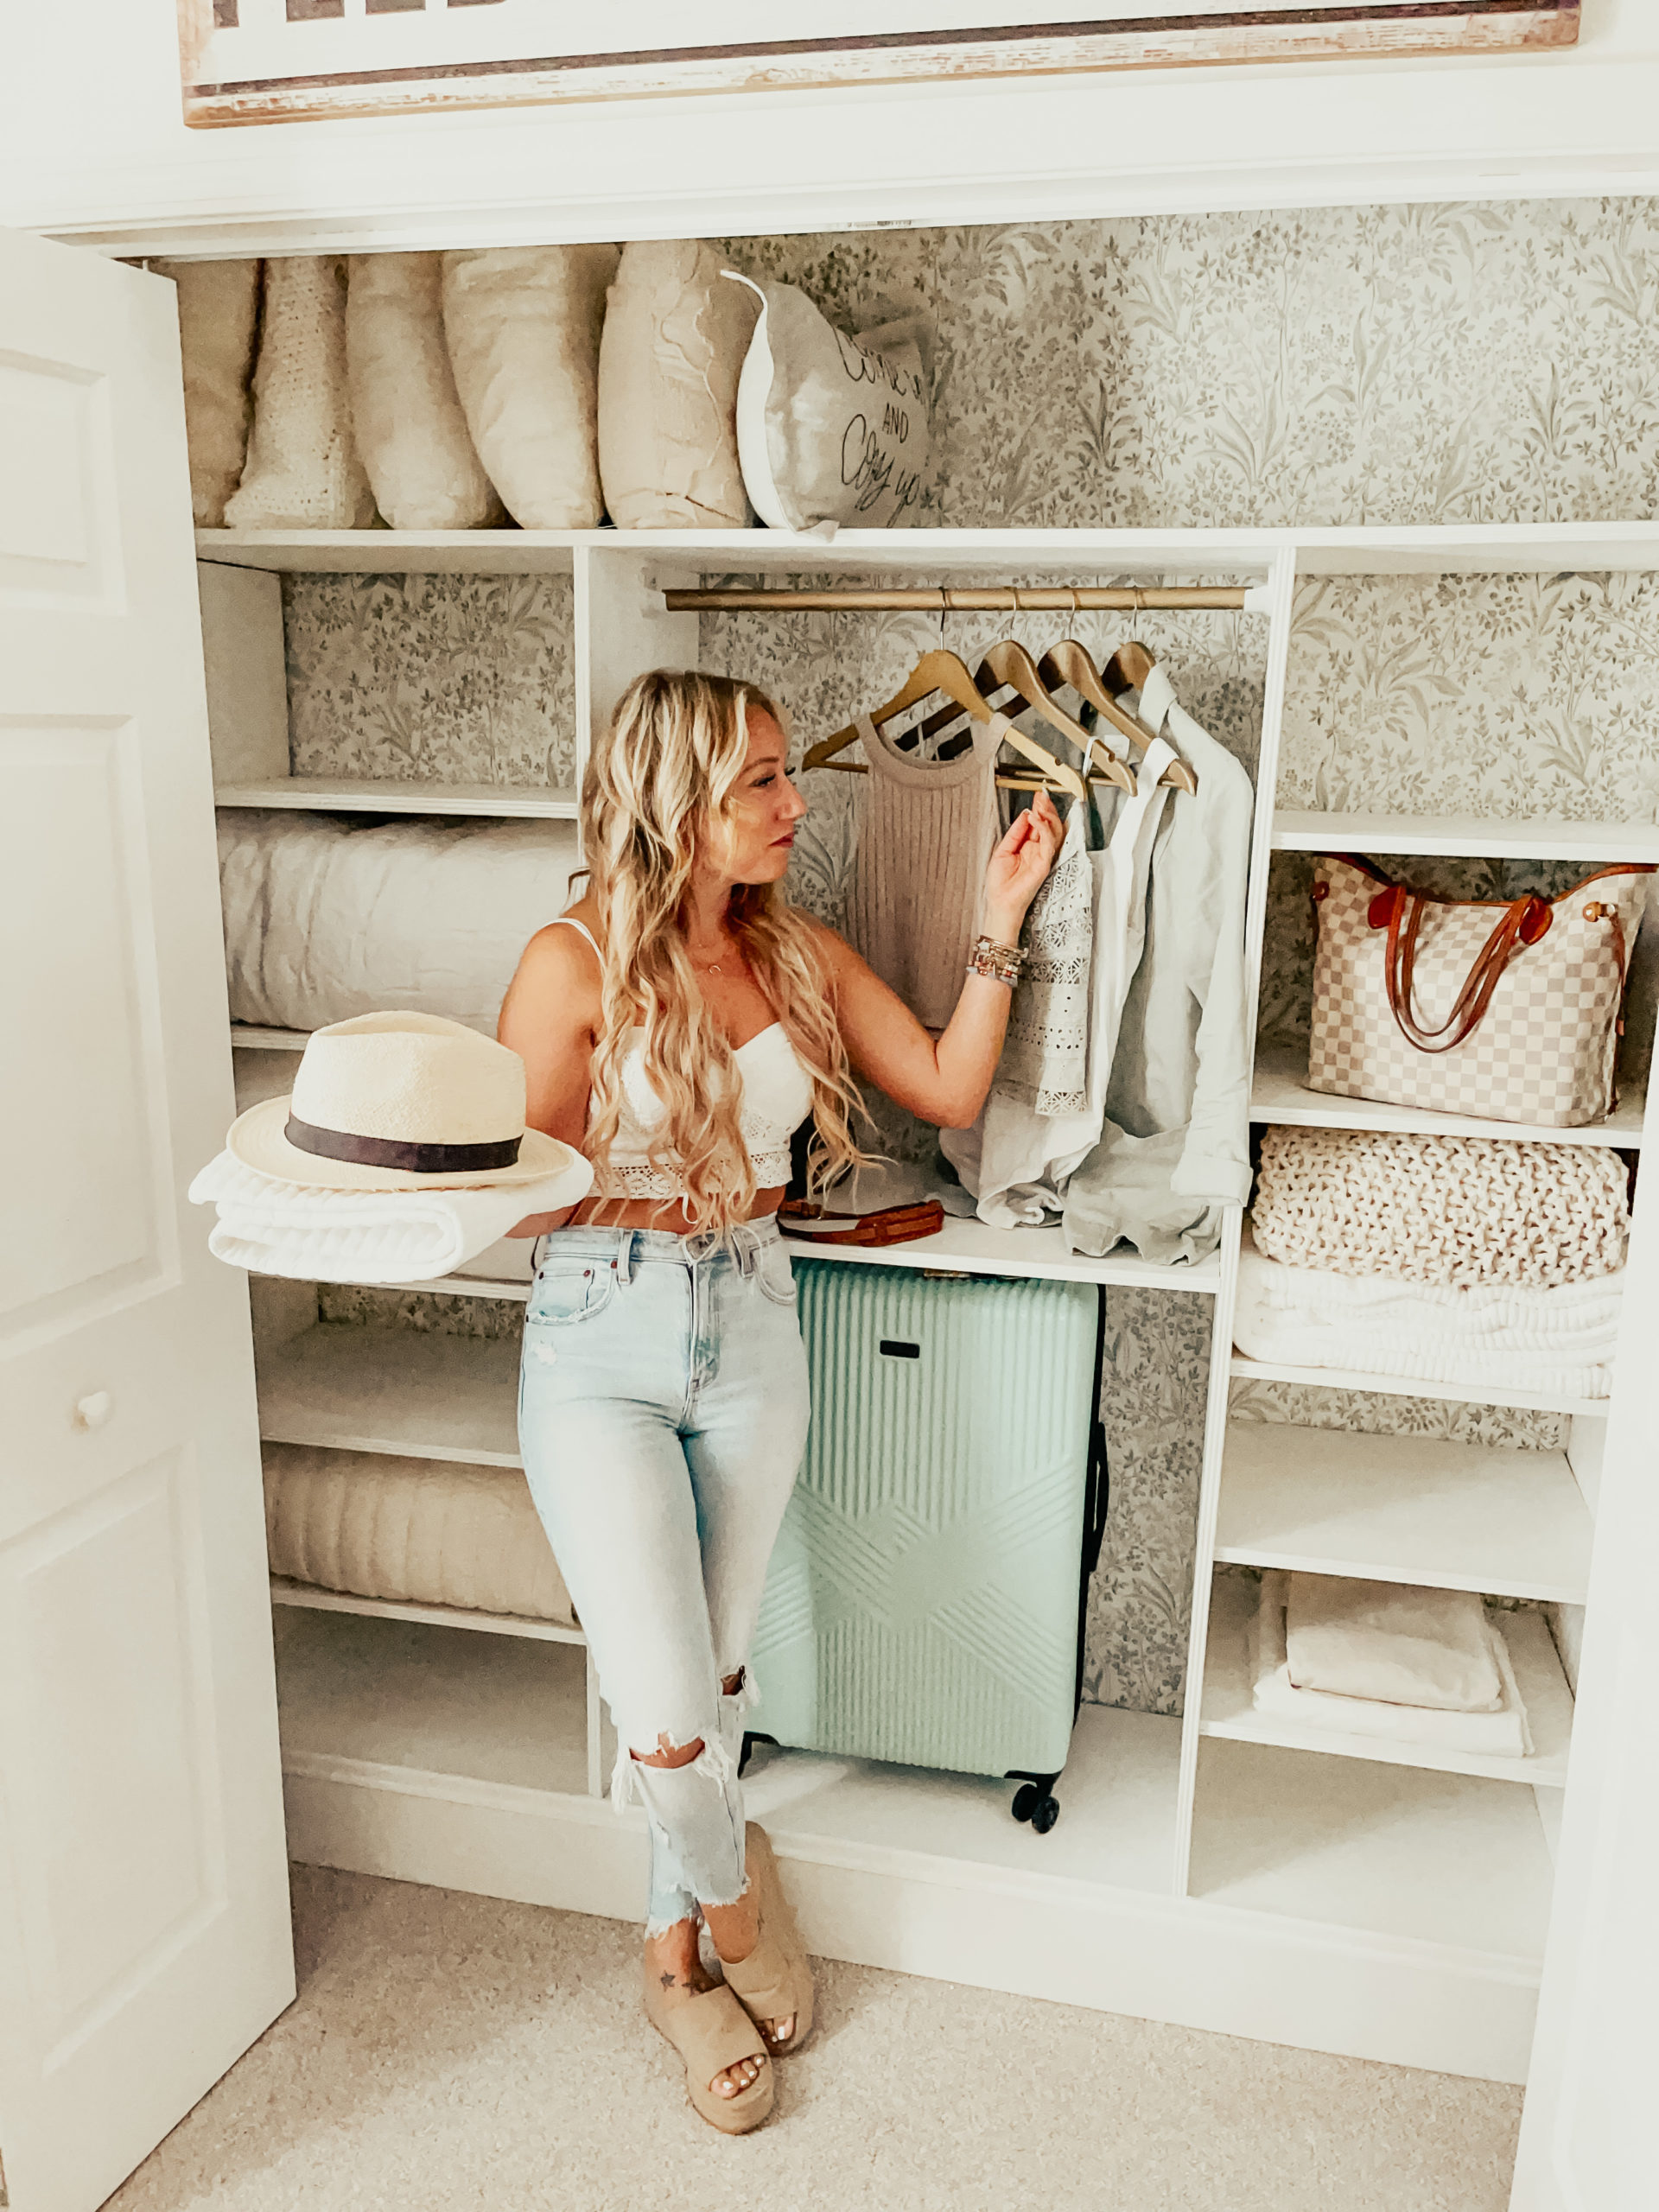
Finishing Touches
Finishing touches make your closet organizer look complete and neat. They improve both style and function. These final steps help your closet feel personal and well-planned. Small details can turn a simple organizer into a beautiful space. Focus on painting, decoration, and organizing to finish strong.
Painting Or Staining
Choose paint or stain that matches your room’s style. Light colors open up small spaces. Dark stains add warmth and richness. Use smooth strokes and apply thin coats. Let each coat dry fully before the next. Painting protects wood and makes cleaning easier. Staining shows the natural wood grain. Both options give your closet a polished look.
Adding Decorative Elements
Decorative touches add personality to your closet. Consider stylish knobs or handles for drawers. Use washi tape or vinyl decals for shelves. Add small baskets or fabric bins for storage. These elements keep things tidy and attractive. They help separate items and make finding things quick. Choose simple decorations to keep a clean look.
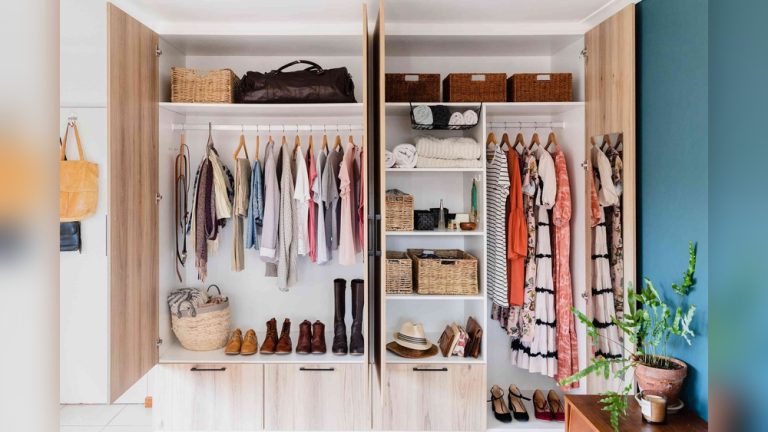
Organizing Your Items
Sort your clothes and accessories by type or color. Use shelf dividers to keep stacks neat. Label bins and boxes for easy access. Hang frequently used items at eye level. Place less-used items on higher shelves. Group small items like scarves or belts in containers. A well-organized closet saves time and reduces mess.
Maintenance Tips
Maintaining your closet organizer is key to keeping it functional and neat. Regular care helps it last longer and stay useful. Simple habits make a big difference in organization and cleanliness.
Keeping Your Organizer Clean
Dust and dirt can build up on shelves and drawers. Use a soft cloth to wipe surfaces weekly. Avoid harsh cleaners that can damage materials. For fabric bins, spot clean stains quickly. Keeping it clean prevents damage and keeps clothes fresh.
Adjusting For Changing Needs
As your wardrobe changes, so should your organizer. Move shelves or rods to fit new items. Add hooks or bins for accessories or shoes. Flexibility helps you make the best use of space. Check your setup every few months and adjust as needed.
Frequently Asked Questions
What Materials Are Best For Building A Closet Organizer?
Wood, plywood, and MDF are popular for closet organizers. Use sturdy materials for durability and smooth finishes for a polished look. Hardware like screws and brackets ensure stability. Choose eco-friendly options for a sustainable build.
How Do I Measure My Closet For An Organizer?
Measure width, height, and depth of your closet accurately. Note any obstacles like vents or light switches. Sketch a layout to maximize space. Proper measurements prevent fitting issues and optimize storage capacity.
What Tools Do I Need To Build A Closet Organizer?
Basic tools include a saw, drill, screwdriver, measuring tape, and level. Safety gear like gloves and goggles is essential. Optional tools like a sander improve finish quality. Having the right tools speeds up the build process.
How Can I Maximize Storage In A Closet Organizer?
Use adjustable shelves, hanging rods, and drawers to organize items efficiently. Incorporate hooks and bins for small accessories. Vertical space utilization helps store more. Customizing compartments keeps everything tidy and accessible.
Conclusion
Building a closet organizer can make your space neat and tidy. It helps keep clothes and items easy to find. You save time and avoid clutter every day. Start with simple steps and use the right tools. Personalize your organizer to fit your needs and style.
A well-planned closet can improve your daily routine. Try it yourself and enjoy a clean, organized space. Small changes can bring big benefits to your home.