DIY Abstract Wall Art Ideas to Transform Your Space
DIY abstract wall art is an easy, budget-friendly way to add personality and color to any room. With just a few supplies and a little creativity, you can craft unique pieces that reflect your style and elevate your home decor.
Key Takeaways
- No artistic experience needed: Abstract art thrives on freedom and expression, making it perfect for beginners.
- Use affordable materials: Household items like paint, tape, sponges, and even coffee can create beautiful effects.
- Customize to your space: Choose colors and sizes that complement your room’s palette and layout.
- Experiment with techniques: Try pouring, dripping, stamping, or layering for dynamic textures and patterns.
- Frame or hang unframed: Floating canvas, clip frames, or simple nails let you display art your way.
- Refresh anytime: Swap out pieces seasonally or whenever you want a new vibe.
- Make it personal: Add hidden meaning through color choices or spontaneous brushstrokes that reflect your mood.
Quick Answers to Common Questions
Can I make abstract art if I’ve never painted before?
Absolutely! Abstract art is all about expression, not technical skill. Anyone can splash paint, drip colors, or use tape to create shapes—no experience needed.
What’s the cheapest way to start?
Use cardboard or old canvases, household sponges, and leftover paint. Many techniques require just a few dollars in supplies.
How do I choose colors that work together?
Pick colors from your room’s decor, use a color wheel for complementary pairs, or try a monochromatic scheme for a cohesive look.
Can I use watercolors instead of acrylics?
Yes! Watercolors create soft, flowing effects. Use heavy paper or watercolor canvas and seal with varnish when done.
How do I hang my art securely?
Use picture hooks, nails, or adhesive strips (for lightweight pieces). For larger canvases, use D-rings and wire for strong support.
📑 Table of Contents
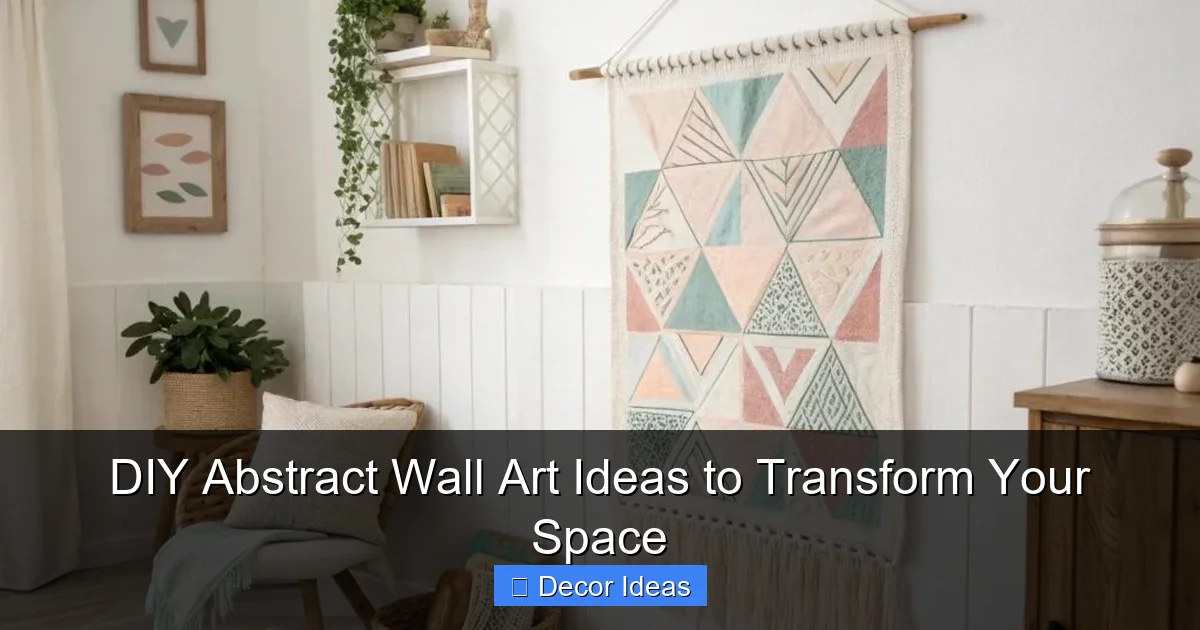
Why DIY Abstract Wall Art Is the Perfect Home Upgrade
Let’s be honest—walking into a room with bold, colorful abstract art instantly lifts your mood. It adds energy, depth, and a sense of individuality that store-bought prints often lack. But here’s the best part: you don’t need to be a trained artist or spend hundreds of dollars to create something stunning. DIY abstract wall art is accessible, fun, and deeply rewarding.
Abstract art celebrates freedom. There are no rules about perspective, proportion, or realism. Instead, it’s all about emotion, movement, and color. This makes it the ideal project for anyone looking to personalize their space without pressure. Whether you’re decorating a cozy bedroom, a modern living room, or a home office, a handmade abstract piece can become the focal point that ties everything together.
Getting Started: What You’ll Need
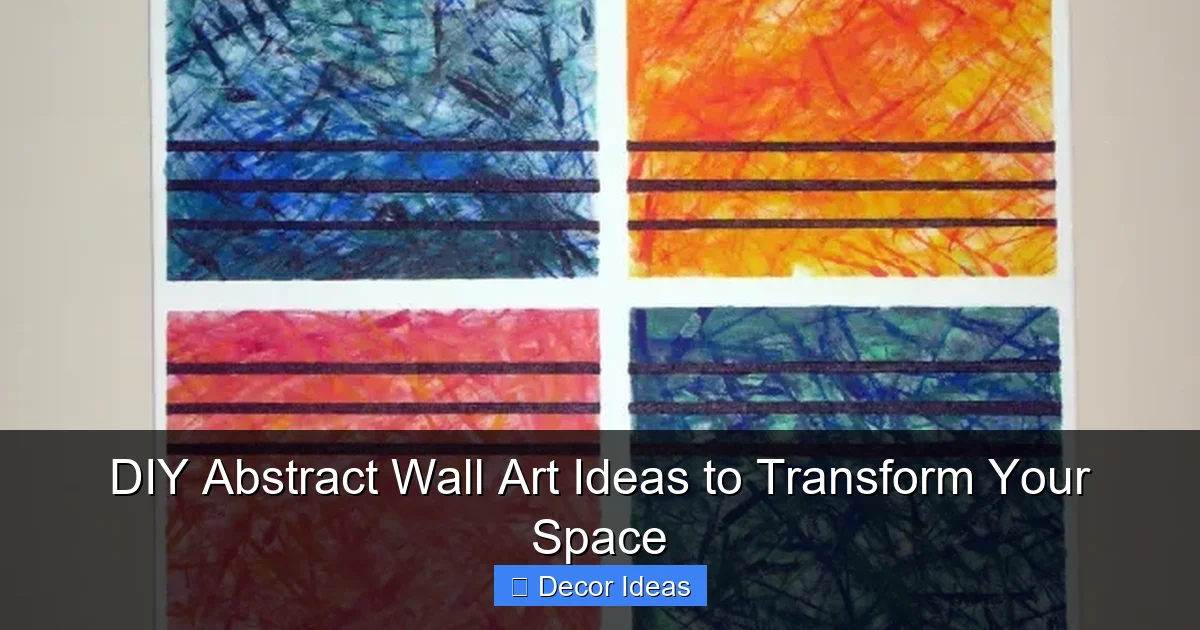
One of the biggest myths about creating art is that you need expensive supplies. Not true! Most DIY abstract wall art projects use items you already have at home or can pick up for under $20 at a craft store. The key is to focus on creativity, not perfection.
Visual guide about DIY Abstract Wall Art Ideas to Transform Your Space
Image source: lollyjane.com
Essential Supplies
- Canvas or wood panel: Stretched canvas works great, but you can also use plywood, cardboard, or even old picture frames.
- Acrylic paint: Affordable, fast-drying, and available in every color. Start with 3–5 colors plus white and black for mixing.
- Brushes and sponges: A variety of sizes helps create different textures. Foam brushes and household sponges add unique effects.
- Painter’s tape: Perfect for clean lines, geometric shapes, or masking off sections.
- Palette or mixing tray: A paper plate or plastic tray works fine for blending colors.
- Water cup and paper towels: For cleaning brushes and controlling paint consistency.
- Optional extras: Sandpaper (for texture), spray bottles (for water effects), or even coffee/tea (for staining).
Choosing Your Color Palette
Color sets the tone for your entire piece. Think about the mood you want to create. Warm tones like red, orange, and yellow feel energetic and inviting. Cool tones like blue, green, and purple bring calm and serenity. Neutral shades like gray, beige, and white add balance.
Try this simple trick: look around your room. Pick 2–3 dominant colors and 1–2 accent shades. Use those as your base. For example, if your couch is navy blue and your rug has mustard yellow, try a combo of navy, yellow, white, and a touch of coral for contrast.
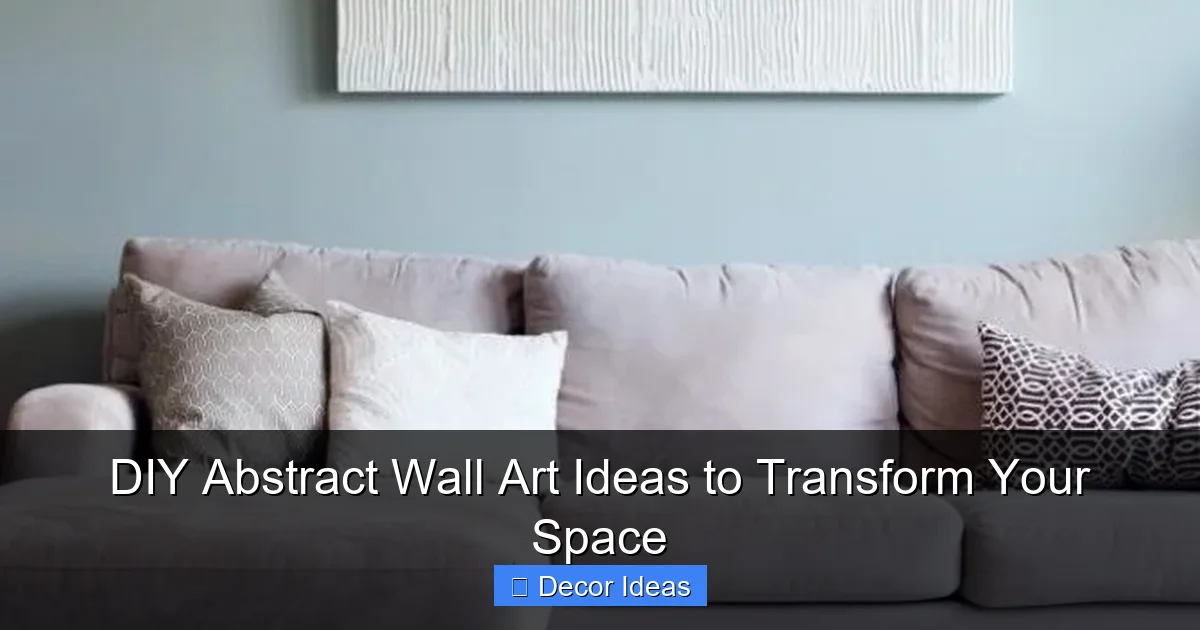
Easy DIY Abstract Art Techniques Anyone Can Try
The beauty of abstract art is that there’s no wrong way to do it. These beginner-friendly techniques require minimal skill but deliver maximum impact. Pick one that excites you and dive in!
Visual guide about DIY Abstract Wall Art Ideas to Transform Your Space
Image source: i0.wp.com
1. Tape and Paint (Geometric Abstract)
This method creates crisp, modern lines and bold shapes. Start by taping off sections of your canvas with painter’s tape. You can make triangles, rectangles, or even free-form patterns. Once taped, paint each section with a different color. Let it dry completely, then carefully peel off the tape to reveal sharp edges.
Pro tip: Use a hairdryer to speed up drying between layers. And don’t worry if the lines aren’t perfect—slight imperfections add character.
2. Pour Painting (Fluid Art)
Pour painting is mesmerizing and surprisingly simple. Mix acrylic paint with a pouring medium (or just a bit of water and dish soap) to create a thin, pourable consistency. Layer different colors in a cup, then flip it onto your canvas. Tilt the canvas gently to spread the paint.
You’ll get organic swirls, cells, and blends that look professional. Try using a torch (or a lighter) to pop air bubbles and enhance cell formation. This technique works especially well on larger canvases and creates a gallery-worthy finish.
3. Sponge and Stamping
Grab a sponge, cork, or even a potato to create texture. Dip it in paint and dab it onto the canvas in random patterns. Layer different colors and shapes for depth. You can also use household items like bottle caps, leaves, or lace for unique stamps.
This method is great for adding subtle detail without overwhelming the piece. It’s also perfect for covering large areas quickly.
4. Drip and Splatter
Channel your inner Jackson Pollock! Load a brush or toothbrush with diluted paint and flick it over the canvas. Use a ruler or stick to guide drips for more control. This technique adds movement and energy, ideal for modern or industrial spaces.
Safety tip: Do this over a drop cloth or outside to avoid mess. Wear old clothes—splatter art can get messy!
5. Layering and Scraping
Start with a base coat, let it dry, then add layers of different colors. Use a palette knife, credit card, or old gift card to scrape through the top layers, revealing the colors beneath. This creates a rich, textured surface with hidden depth.
Experiment with dry brushing—dip your brush in paint, wipe off most of it, then lightly drag it across the canvas for a soft, weathered look.
Creative Ideas to Personalize Your Art
Once you’ve mastered the basics, it’s time to make your art truly yours. These creative twists add meaning and style.
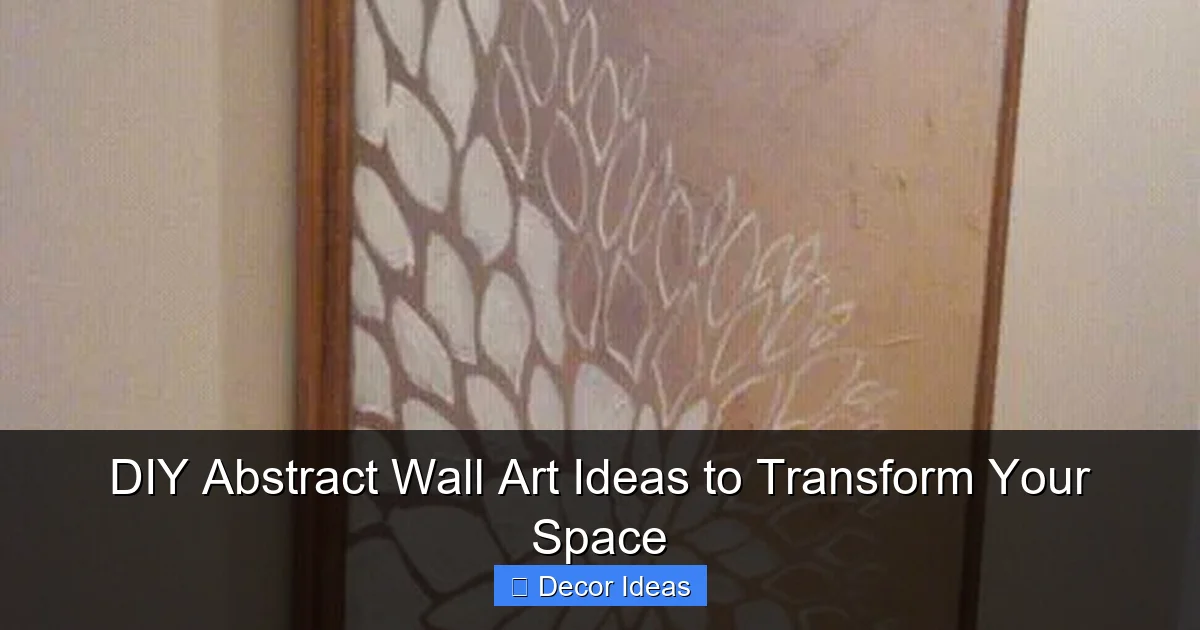
Visual guide about DIY Abstract Wall Art Ideas to Transform Your Space
Image source: blogger.googleusercontent.com
Use Nature as Inspiration
Take a walk outside and notice the colors and patterns in leaves, rocks, or clouds. Recreate those textures at home. For example, use green and brown tones with sponge dabs to mimic a forest floor, or blend blues and whites for a sky-like effect.
Incorporate Personal Symbols
Abstract doesn’t mean meaningless. Add subtle symbols that matter to you—a heart shape hidden in the paint, a spiral representing growth, or a color that reminds you of a special place. These personal touches make the art feel more intimate.
Try a Monochromatic Theme
Pick one color and explore its many shades. Use light blue, navy, and teal for a calming ocean vibe, or red, pink, and maroon for a passionate statement. Monochromatic art feels cohesive and sophisticated.
Mix Media for Extra Dimension
Add fabric scraps, dried flowers, or even magazine cutouts to your canvas. Glue them on before painting, or embed them between layers. This mixed-media approach adds tactile interest and tells a richer visual story.
How to Display Your DIY Abstract Art
Your masterpiece deserves a great presentation. Here’s how to show it off.
Floating Canvas Mount
For a sleek, modern look, use a floating canvas mount. These small brackets attach to the back of your canvas and create a gap between the wall and the art, giving it a “floating” effect. It’s minimalist and draws attention to the artwork itself.
Clip Frames
If you painted on paper or lightweight board, a clip frame is a stylish and affordable option. These frames hold the art with metal clips at the top and bottom, leaving the sides open. They’re great for a gallery wall or rotating pieces seasonally.
Gallery Wall Layout
Create a curated collection by grouping 3–5 smaller abstract pieces. Arrange them in a grid, asymmetrical cluster, or diagonal line. Use a mix of sizes and orientations for visual interest. Hang them at eye level—about 57–60 inches from the floor to the center of the artwork.
Lean It On a Shelf
For a relaxed, lived-in vibe, lean your canvas on a bookshelf, mantel, or console table. Add a small plant or candle nearby to complete the scene. This works especially well in bedrooms or entryways.
Tips for Success and Common Mistakes to Avoid
Even the best artists make mistakes—but learning from them makes the process more fun. Here’s how to set yourself up for success.
Start Small
If you’re new to abstract art, begin with an 8×10 or 11×14 canvas. Smaller pieces are less intimidating and quicker to finish. Once you gain confidence, move on to larger works.
Embrace “Happy Accidents”
Spilled paint? Uneven lines? Unexpected blends? These aren’t flaws—they’re features! Abstract art celebrates spontaneity. Instead of fixing every mistake, ask yourself: “Does this add character?” Often, the answer is yes.
Let Layers Dry
Rushing between layers can cause colors to muddy. Acrylic paint dries fast, but thick layers or pours may take longer. Patience pays off with cleaner, more vibrant results.
Avoid Overworking
It’s easy to keep adding paint, but sometimes less is more. Step back every few minutes. If the piece feels balanced and expressive, it’s probably done. Overworking can make the art feel cluttered.
Protect Your Work
Once finished, seal your art with a clear acrylic varnish (matte or gloss). This protects against dust and fading, especially if hung in sunny spots.
Transform Your Space—One Stroke at a Time
DIY abstract wall art isn’t just about decorating—it’s about creating something meaningful with your own hands. It’s a chance to experiment, express yourself, and bring joy into your home. Whether you’re painting bold geometric shapes or soft watercolor-like blends, every piece tells a story.
The best part? You don’t need permission to be creative. Grab a brush, pick your favorite colors, and let your instincts guide you. Your walls will thank you, and so will your soul. With these ideas and techniques, you’re ready to transform any space into a personal sanctuary filled with color, energy, and originality.
🎥 Related Video: DIY Wall Art #diywalldecor
📺 Liz Fenwick DIY
Frequently Asked Questions
What size canvas should I use for my first project?
Start with an 8×10 or 11×14 inch canvas. These sizes are manageable, affordable, and perfect for practicing techniques without feeling overwhelmed.
Can I make abstract art without paint?
Yes! Try using fabric, washi tape, magazine cutouts, or even natural materials like leaves and twigs glued to a board for a textured, collage-style piece.
How long does it take to dry?
Acrylic paint usually dries to the touch in 15–30 minutes, but thick layers or pour techniques may take several hours. Let it dry fully before sealing or hanging.
Is it okay to mix brands of paint?
Yes, but consistency may vary. Stick to one brand if possible, or test mixes on scrap paper first to avoid unexpected textures or drying times.
Can I sell my DIY abstract art?
Absolutely! Many artists start by selling handmade pieces at local markets or online. Just make sure your work is original and properly sealed for durability.
What if I don’t like how it turns out?
That’s part of the process! You can paint over it, cut it into smaller pieces, or use it as a base for a new project. Every “mistake” is a step toward your next masterpiece.