Create a Stunning DIY Art Gallery Wall in Minutes
Creating a DIY art gallery wall is easier than you think—and it can completely transform any room. With a little planning, creativity, and the right materials, you can design a personalized, gallery-worthy display in under an hour. Whether you’re using prints, photos, or mixed media, this project adds charm, personality, and visual interest to your home.
Key Takeaways
- Plan your layout first: Sketch or mock up your design on paper or digitally to avoid mistakes and ensure balance.
- Mix frames and art styles: Combine different sizes, colors, and textures for a dynamic, curated look.
- Use a theme or color palette: A cohesive color scheme or subject matter ties the gallery together beautifully.
- Hang at eye level: Position the center of your artwork at about 57–60 inches from the floor for optimal viewing.
- Start with a focal point: Choose one standout piece to anchor the arrangement and build around it.
- Use removable hanging solutions: Command strips or adhesive hooks let you rearrange easily without damaging walls.
- Don’t overthink it: Your gallery should reflect your personality—perfection isn’t the goal, joy is.
Quick Answers to Common Questions
How long does it take to create a DIY art gallery wall?
With proper planning, most people can complete a gallery wall in under an hour. If you’re gathering art or customizing frames, it may take a few hours spread over a day or two.
Can I use Command strips for heavy frames?
Command strips work well for lightweight to medium frames (up to 8–16 pounds, depending on the product). For heavier pieces, use wall anchors or traditional picture hangers.
What if I don’t have enough art?
Fill gaps with mirrors, fabric panels, or even blank frames. You can also print high-quality photos or download free art from websites like Unsplash or Pixabay.
Should all frames match?
Not at all! Mixing frames adds personality and visual interest. Just keep a consistent color palette or theme to maintain cohesion.
Can I rearrange my gallery wall later?
Absolutely! Use removable hooks or adhesive strips to make changes easy. Your taste evolves—your gallery should too.
📑 Table of Contents
Why a DIY Art Gallery Wall Is the Perfect Home Upgrade
Let’s be honest—blank walls are boring. They’re like a blank canvas screaming for personality, color, and life. That’s where a DIY art gallery wall comes in. It’s one of the easiest, most impactful ways to refresh your space without spending a fortune or calling in a professional. Whether you’re decorating a living room, hallway, bedroom, or even a home office, a well-designed gallery wall adds depth, warmth, and a touch of sophistication.
And the best part? You don’t need to be an artist or interior designer to pull it off. With a few simple tools, some creativity, and a little patience, you can create a stunning display that feels curated and intentional. Think of it as storytelling through art—each piece reflects a memory, a mood, or a moment in time. From vintage postcards to family photos, abstract prints to hand-drawn sketches, your gallery wall becomes a visual diary of who you are.
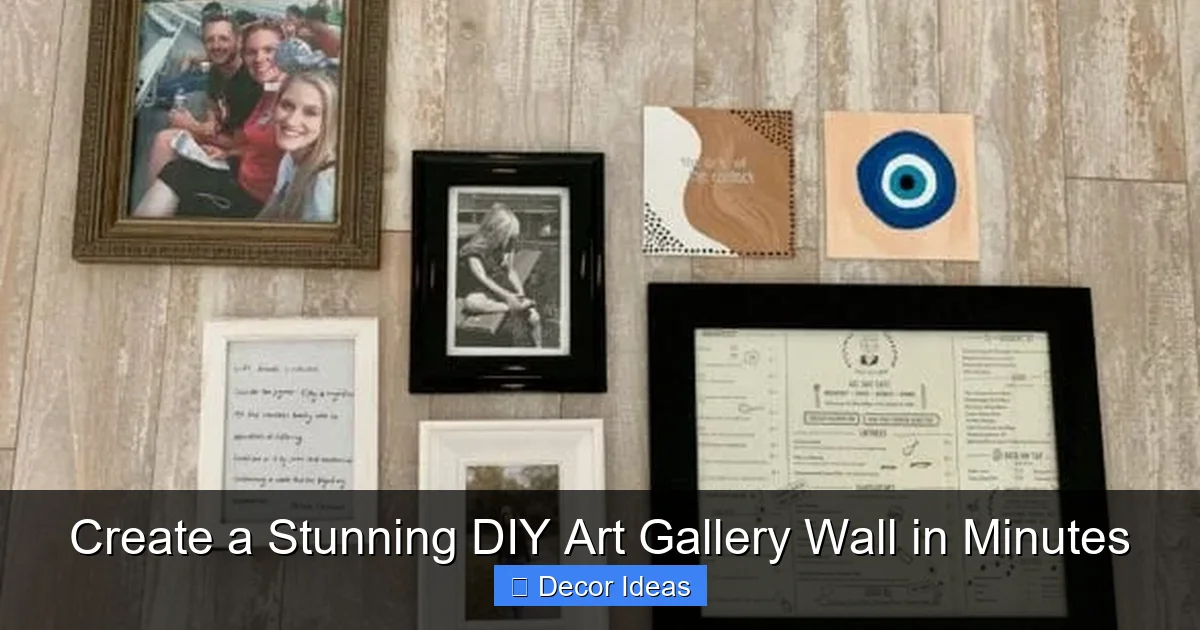
Step 1: Choose Your Space and Style
Before you start hammering nails into the wall, take a moment to assess where your gallery will live. The location sets the tone for the entire project. A long hallway? Perfect for a linear, symmetrical arrangement. A large blank wall above your sofa? Ideal for a bold, clustered layout. Even a narrow space beside a staircase can become a charming mini-gallery.
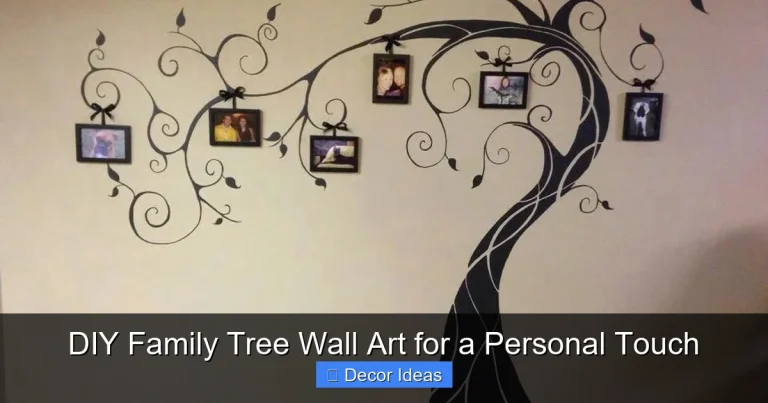
Visual guide about Create a Stunning DIY Art Gallery Wall in Minutes
Image source: sarahscoop.com
Consider the Room’s Function
Think about how the room is used. In a bedroom, you might want calming, soothing images—soft landscapes, abstract watercolors, or black-and-white photography. In a kids’ room, bright colors, playful illustrations, or handmade drawings from your little ones can bring joy and energy. A home office might benefit from motivational quotes, architectural sketches, or inspiring travel photos.
Pick a Style That Speaks to You
Your gallery wall should reflect your personal taste. Do you lean toward modern minimalism? Go for sleek black frames and monochromatic art. Love boho vibes? Mix in woven textiles, macramé, and earthy tones. If you’re a fan of vintage charm, consider antique frames, retro posters, or sepia-toned photos. The key is consistency in style, even if the individual pieces vary.
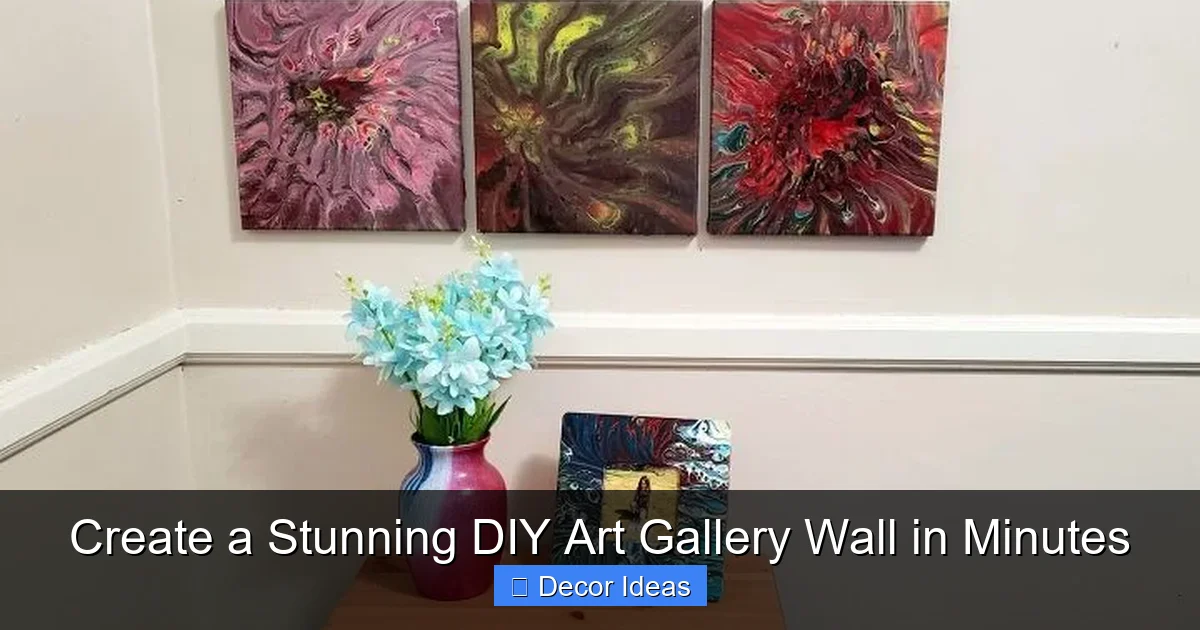
Step 2: Gather Your Art and Frames
Now comes the fun part—collecting your artwork. You don’t need expensive originals or museum-quality pieces. In fact, some of the most beautiful gallery walls are made from affordable prints, thrifted finds, and personal creations.
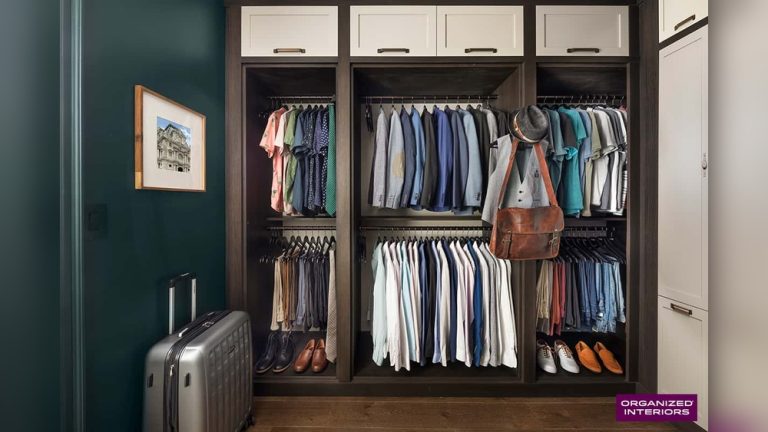
Visual guide about Create a Stunning DIY Art Gallery Wall in Minutes
Image source: sarahscoop.com
Where to Find Art on a Budget
Start with what you already own. Dig through old photo albums, sketchbooks, or boxes of memorabilia. Print out high-quality digital photos from your phone or camera. Check out local thrift stores, flea markets, or garage sales for unique frames and vintage prints. Online marketplaces like Etsy, eBay, or even Pinterest offer thousands of downloadable art prints for under $10.
Mix and Match Frames
One of the biggest mistakes people make is using identical frames. While matching frames can look clean and modern, mixing them adds character and visual interest. Try combining wood, metal, and painted frames in different finishes—black, white, gold, or natural wood. Vary the sizes too: large statement pieces, medium prints, and small accent photos create rhythm and balance.
Don’t Forget Non-Traditional Art
Art doesn’t have to be a flat image in a frame. Consider incorporating mirrors, fabric swatches, pressed flowers, or even small shelves with tiny objects. A vintage map, a piece of embroidery, or a child’s drawing can add charm and surprise. Just make sure everything fits within your overall color scheme or theme.
Step 3: Plan Your Layout
This is where most people get stuck—how to arrange everything so it looks intentional, not chaotic. The good news? You don’t have to eyeball it. Planning your layout saves time, reduces frustration, and ensures a professional-looking result.
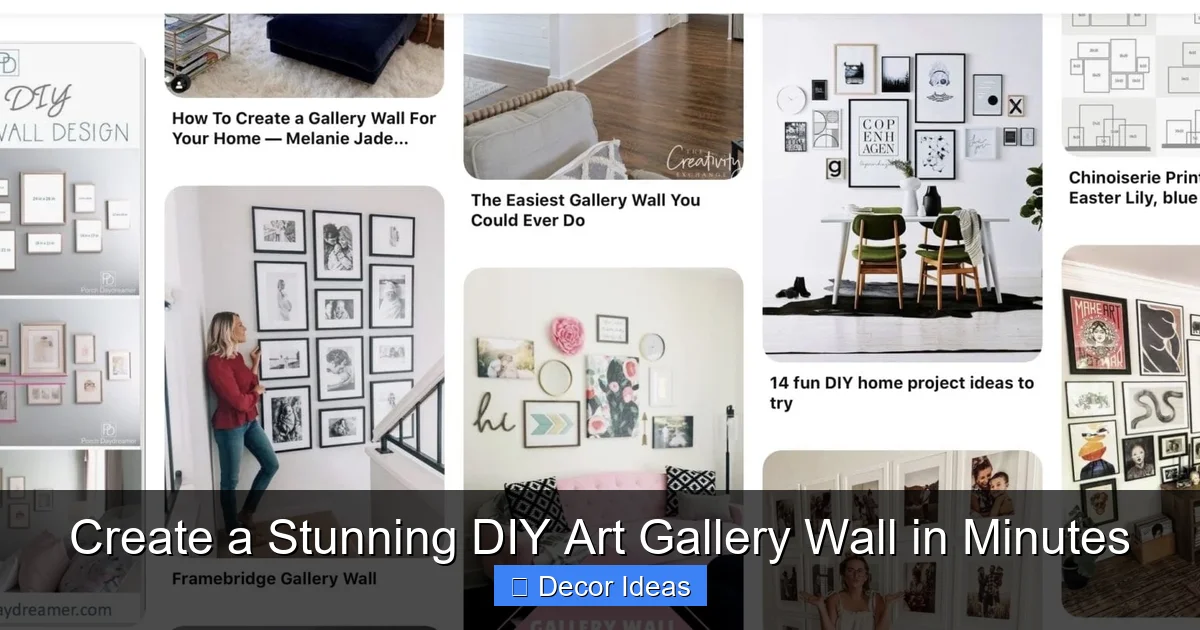
Visual guide about Create a Stunning DIY Art Gallery Wall in Minutes
Image source: i.pinimg.com
Use Paper Templates
Cut out pieces of paper or cardboard the same size as your frames. Tape them to the wall with painter’s tape and experiment with different arrangements. Step back frequently to see how it looks from a distance. This method lets you move things around without making holes until you’re happy with the design.
Try a Grid or Asymmetrical Layout
For a clean, modern look, go with a grid pattern—frames aligned in straight rows and columns. This works especially well in hallways or above beds. For a more organic, gallery-style feel, try an asymmetrical layout. Start with a central piece and build outward, varying heights and spacing. The key is to maintain visual balance—don’t let one side feel heavier than the other.
Use Digital Tools
If you’re tech-savvy, try using a digital layout tool. Apps like Canva, Adobe Express, or even Google Slides let you upload frame sizes and drag them around on a virtual wall. Some home decor websites also offer free gallery wall planners where you can input your wall dimensions and frame sizes for a custom layout.
Step 4: Hang Your Gallery Wall
Once your layout is finalized, it’s time to hang. But don’t rush—this step requires precision to avoid crooked frames and misplaced holes.
Measure and Mark
Use a tape measure, level, and pencil to mark where each hook or nail will go. For symmetrical layouts, measure from the center of the wall. For asymmetrical designs, use your paper templates as guides. Double-check your measurements before drilling or hammering.
Choose the Right Hanging Hardware
The type of hardware depends on your frames and wall material. For lightweight frames, adhesive hooks or Command strips work great—no tools needed. For heavier pieces, use picture hangers, wall anchors, or screws. If you’re renting or want to avoid damage, removable hooks are your best friend.
Hang at Eye Level
A common rule of thumb is to hang artwork so the center is at about 57–60 inches from the floor. This is the average eye level when standing and creates a natural viewing experience. If your gallery includes multiple pieces, align the centers of the frames along this imaginary line for a cohesive look.
Step 5: Add the Finishing Touches
Your gallery wall isn’t just about the art—it’s about the details that bring it all together. Small touches can make a big difference in the overall impact.
Light It Up
Consider adding lighting to highlight your display. Picture lights, clip-on lamps, or even string lights can draw attention to your art and create a cozy ambiance. LED strip lights placed along the top of a shelf or frame can add a modern glow.
Include Personal Elements
Make it uniquely yours. Add a handwritten note, a favorite quote in a decorative font, or a small plaque with a meaningful date. These personal touches turn your gallery into a true reflection of your life and style.
Keep It Fresh
Your gallery wall doesn’t have to be permanent. Swap out pieces seasonally, update it with new photos, or rotate in artwork from local artists. This keeps your space feeling dynamic and evolving.
Common Mistakes to Avoid
Even with the best intentions, it’s easy to make mistakes. Here are a few to watch out for:
- Overcrowding the wall: Too many pieces can feel cluttered. Leave some breathing room between frames.
- Ignoring the wall color: Your art should complement the wall, not fight it. A dark wall might need lighter frames, and vice versa.
- Hanging too high or low: Art that’s too high looks disconnected; too low feels awkward. Stick to the 57–60 inch rule.
- Using only one size: Variety adds interest. Mix large, medium, and small pieces for balance.
- Rushing the process: Take your time. A well-planned gallery looks intentional and polished.
Conclusion: Your Wall, Your Story
Creating a DIY art gallery wall is more than just a decorating project—it’s an act of self-expression. It’s about curating moments, memories, and inspirations into a single, beautiful display. And the best part? It doesn’t have to be perfect. In fact, the quirks and imperfections are what make it uniquely yours.
So grab your frames, gather your art, and start planning. Whether you’re transforming a blank wall in five minutes or spending a weekend perfecting every detail, the result will be worth it. Your home will feel warmer, more personal, and infinitely more inviting. And who knows? You might just inspire others to create their own stunning gallery walls too.
🎥 Related Video: DIY OVERSIZED WALL ART from a Shower Curtain!!
📺 DIY Dream Home with Cara Newhart
Frequently Asked Questions
What’s the best height to hang a gallery wall?
The ideal height is to have the center of your artwork at about 57–60 inches from the floor. This aligns with average eye level and creates a natural viewing experience.
How do I arrange frames of different sizes?
Start with a focal point in the center, then build outward with smaller pieces. Use paper templates on the wall to test spacing and balance before hanging.
Can I create a gallery wall in a rental apartment?
Yes! Use removable adhesive hooks, Command strips, or tension rods to hang art without damaging walls. Most landlords allow these damage-free solutions.
What kind of art works best for a gallery wall?
Almost anything! Photos, prints, drawings, maps, and even fabric or mirrors work well. Choose pieces that reflect your personality and fit your color scheme.
How many pieces should I include?
There’s no set number—anywhere from 3 to 15 pieces can work. Focus on balance and spacing rather than quantity. A few well-placed pieces often look better than a crowded wall.
Do I need a theme for my gallery wall?
A theme helps tie the display together, but it’s not required. You can use a color palette, subject matter (like travel or nature), or simply choose pieces you love.