How to Install Closet Organizer: Easy Steps for a Perfect Setup
Are you tired of digging through a messy closet every morning? Imagine opening your closet and instantly finding exactly what you need.
Installing a closet organizer can turn that dream into reality. It’s easier than you think, and you don’t need to be a DIY expert. In this guide, you’ll discover simple steps to transform your closet into a neat, functional space.
Keep reading, and by the end, you’ll have the confidence and know-how to create the closet you’ve always wanted.
Credit: www.homedepot.com
Choosing The Right Closet Organizer
Choosing the right closet organizer makes a big difference in your storage space. It helps keep your clothes, shoes, and accessories neat. A good organizer fits your closet perfectly and matches your style. Think about your needs and space before buying. This way, you get the best use from your closet.
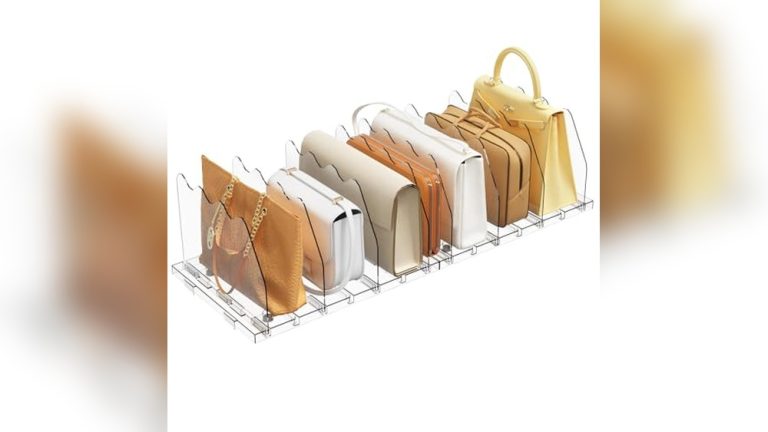
Types Of Closet Organizers
Closet organizers come in many styles. Some have shelves for folded clothes. Others have rods for hanging shirts and dresses. Drawer units can hold small items like socks or jewelry. Modular systems let you add or remove parts. Walk-in closet organizers offer more space and options. Choose a type that matches your storage needs and closet size.
Measuring Your Closet Space
Measure your closet carefully before buying an organizer. Start with the width, height, and depth of the closet. Note any obstacles like light switches or vents. Write down the measurements to compare with organizer sizes. Accurate measuring helps avoid buying an organizer that does not fit. This saves time and money.
Selecting Materials And Finishes
Closet organizers come in different materials. Wood offers a classic, warm look. Metal is strong and modern. Plastic is lightweight and easy to clean. Pick a material that matches your room’s style. Finishes like paint or laminate add color and texture. Choose finishes that resist scratches and stains. This keeps your closet looking good longer.
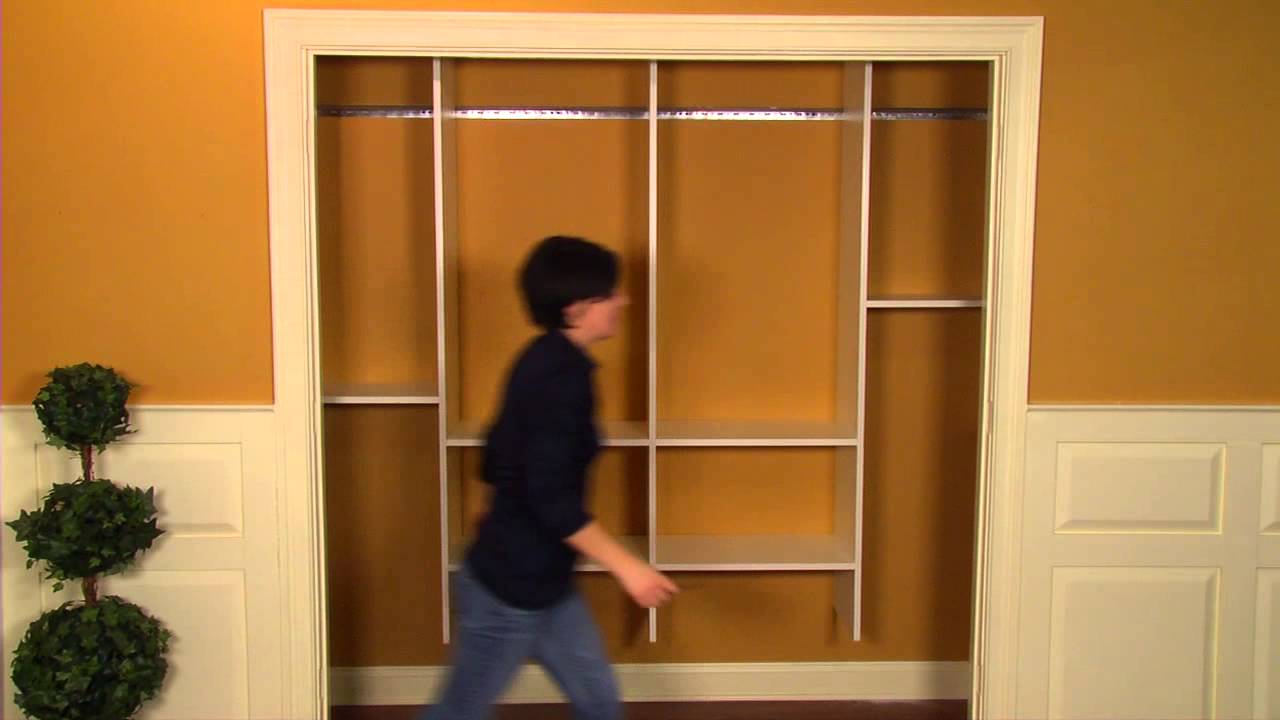
Credit: www.youtube.com
Gathering Necessary Tools
Before starting to install a closet organizer, gather all tools needed. Having the right tools makes the job easier and faster. It also helps avoid mistakes and frustration. Prepare your workspace and keep tools within reach. This saves time and keeps the work area neat.
Essential Tools List
Start with these must-have tools:
- Measuring tape for accurate dimensions.
- Level to ensure shelves and rods are straight.
- Power drill for making holes and driving screws.
- Screwdriver set for tightening screws.
- Stud finder to locate wall studs for secure mounting.
- Pencil to mark measurements on walls.
- Hammer for light tapping or adjusting pieces.
- Utility knife for opening packages and trimming materials.
Safety Gear Recommendations
Protect yourself by wearing safety gear:
- Safety glasses to shield your eyes from dust and debris.
- Work gloves to protect your hands from cuts and splinters.
- Dust mask to avoid inhaling dust particles.
- Ear protection if using loud power tools.
These simple safety steps prevent injuries. Stay safe while organizing your closet space.
Preparing Your Closet
Preparing your closet is the first step to a successful organizer installation. A well-prepared space makes the process easier and faster. It also helps you avoid mistakes and ensures a perfect fit for your new organizer.
Clearing The Space
Remove all items from your closet. Take out clothes, shoes, boxes, and hangers. Clearing the space gives you room to work freely. It also shows any hidden problems like holes or stains.
Cleaning And Repairs
Clean the closet walls, floor, and shelves. Use a damp cloth to remove dust and dirt. Check for cracks, holes, or peeling paint. Fix these issues before installing the organizer. Small repairs make a big difference in the final look.
Marking Layout And Measurements
Measure the width, height, and depth of your closet. Write down all numbers clearly. Use a pencil to mark key points on the walls. Plan where shelves, rods, and drawers will go. Accurate markings prevent errors during installation.
Installing The Closet Organizer
Installing a closet organizer can make your space tidy and easy to use. It helps keep clothes, shoes, and accessories in order. Follow clear steps to set up your organizer quickly and safely. This section covers assembling parts, mounting shelves and rods, and securing drawers and accessories.
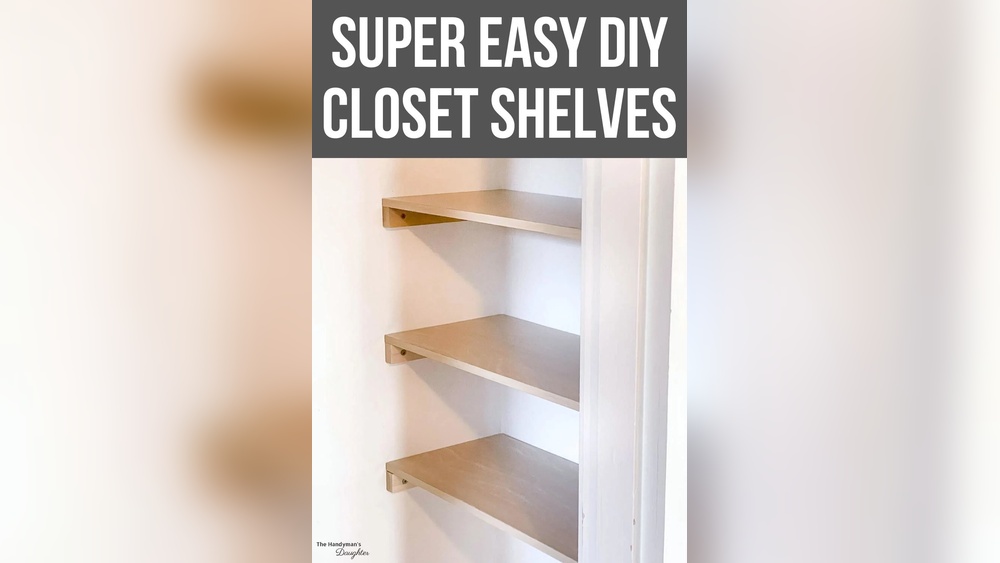
Assembling Components
Start by unpacking all parts carefully. Check each piece against the instruction list. Fit together shelves, panels, and frames as shown. Use screws and connectors provided. Tighten them firmly but avoid over-tightening. Assemble components on a flat surface for stability. This step prepares everything for wall mounting.
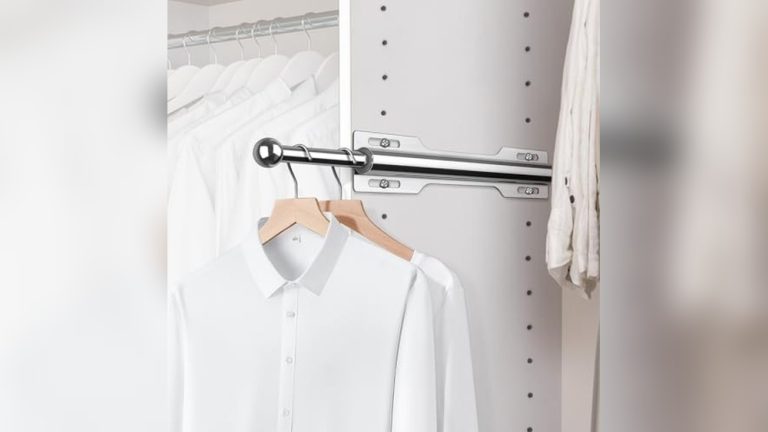
Mounting Shelves And Rods
Find the studs inside your closet wall using a stud finder. Mark these spots clearly for strong support. Attach mounting brackets at the marked points. Place shelves on the brackets and secure them with screws. Insert closet rods into their holders. Ensure rods are level and stable before fixing tightly.
Securing Drawers And Accessories
Slide drawers into their tracks gently. Check if they open and close smoothly. Secure drawer fronts with screws or clips provided. Install hooks, baskets, or other accessories as needed. Follow the layout plan for best use of space. Double-check all attachments for safety and durability.
Final Adjustments And Tips
After installing your closet organizer, some final adjustments will improve its function and look. These small steps ensure the organizer stays strong and works well for a long time. Follow these tips to finish your project with care and make the most of your new space.
Leveling And Stabilizing
Check if your closet organizer stands straight. Use a level tool to see if shelves and rods are even. Adjust screws or brackets to fix any tilt. Tighten all fasteners securely to keep parts in place. A stable organizer prevents items from falling or shifting.
Maximizing Storage Efficiency
Arrange shelves and compartments to match your needs. Place heavy items on lower shelves for safety. Use bins or baskets to group small things. Leave space between items for easy access. Consider adding hooks or rods for hanging accessories.
Maintaining Your Closet Organizer
Clean shelves and surfaces regularly with a dry cloth. Avoid using water or harsh cleaners that can damage materials. Check screws and brackets every few months. Tighten any loose parts to keep stability. Replace worn or broken pieces quickly to prevent bigger issues.
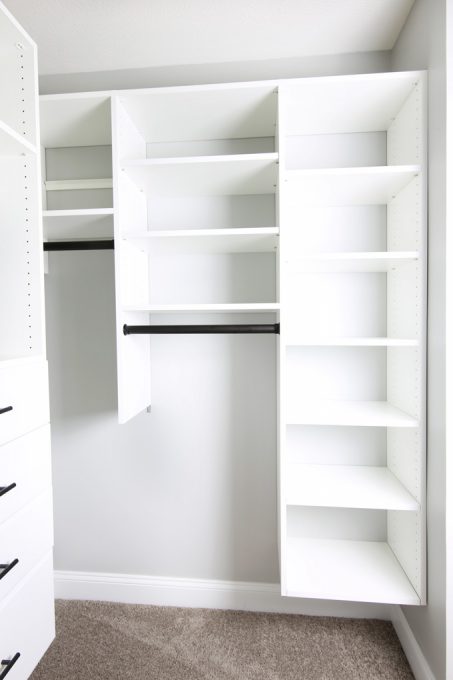
Credit: justagirlandherblog.com
Frequently Asked Questions
What Tools Are Needed To Install A Closet Organizer?
To install a closet organizer, you need a drill, level, tape measure, screwdriver, pencil, and stud finder. These tools help ensure accurate and secure installation.
How Do I Measure My Closet For An Organizer?
Measure the width, height, and depth of your closet space. Accurate measurements help you choose the right organizer size and maximize storage.
Can I Install A Closet Organizer Myself?
Yes, most closet organizers come with easy-to-follow instructions. Basic DIY skills and proper tools make self-installation possible and cost-effective.
How Long Does It Take To Install A Closet Organizer?
Installation time varies by complexity but usually takes 2 to 4 hours. Proper preparation can speed up the process.
Conclusion
Installing a closet organizer can make your space neat and tidy. Follow the steps carefully to avoid mistakes. Take your time and measure twice before cutting. Use the right tools for a smooth setup. A well-organized closet saves time and reduces stress.
Enjoy your clean, easy-to-use storage area every day. Small efforts bring big changes to your home. Start your project now and see the difference!