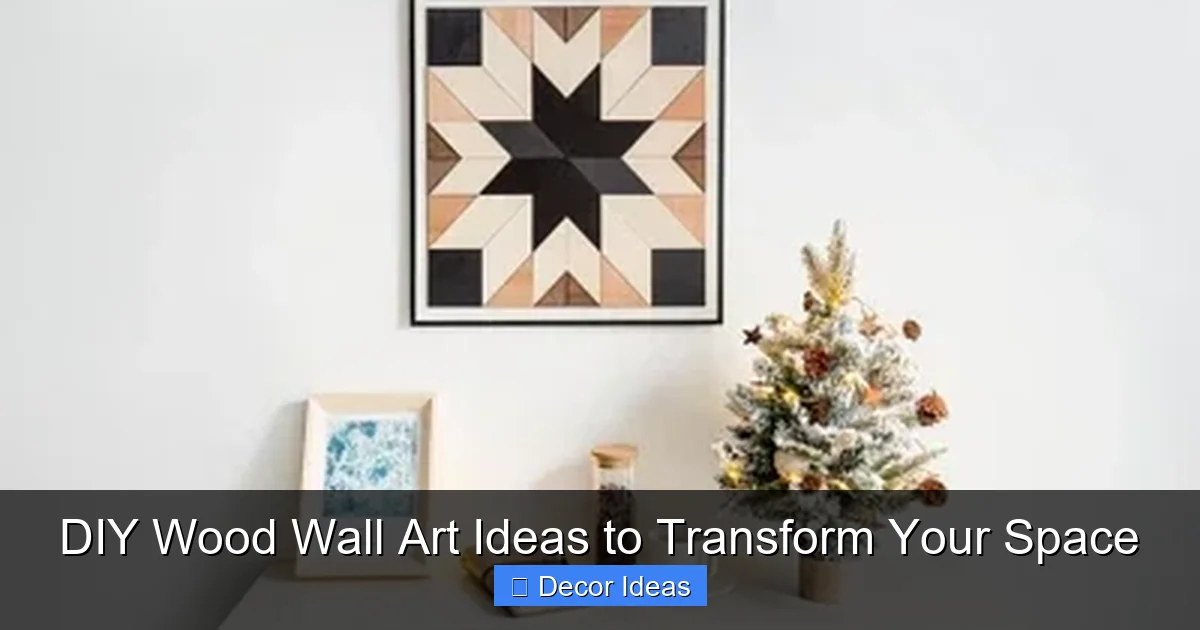
DIY Wood Wall Art Ideas to Transform Your Space
DIY wood wall art is a simple, stylish way to add warmth and personality to any room. With basic tools and a little creativity, you can craft stunning pieces that reflect your unique taste—no expensive decor required.
Looking to give your walls a fresh, handmade vibe without breaking the bank? DIY wood wall art might just be your next favorite project. Whether you’re sprucing up a blank hallway, adding character to your bedroom, or creating a focal point in the living room, wood art offers a timeless, natural charm that mass-produced decor simply can’t match. The best part? You don’t need to be a master carpenter to get stunning results.
Wood has a way of grounding a space—its rich grains, warm tones, and tactile texture bring a sense of calm and authenticity. Unlike plastic or metal, wood feels alive, evolving over time with subtle changes in color and character. And when you make it yourself, that piece becomes more than decor—it becomes a reflection of your creativity, effort, and personal style. From rustic farmhouse signs to modern geometric designs, the possibilities are endless, and the satisfaction of hanging something you built yourself is unbeatable.
Key Takeaways
- Affordable & Accessible: Most materials for DIY wood wall art can be found at local hardware stores or repurposed from old furniture.
- Customizable Designs: From geometric patterns to nature-inspired carvings, you can tailor your art to match any decor style.
- Beginner-Friendly Projects: Many ideas require only basic tools like a saw, sandpaper, and nails—perfect for first-time crafters.
- Adds Natural Texture: Wood brings organic warmth and depth to walls, making spaces feel cozy and inviting.
- Eco-Conscious Choice: Upcycling wood reduces waste and gives new life to discarded materials.
- Instant Room Transformation: A single statement piece can completely refresh the look of a living room, bedroom, or hallway.
- Personal Touch Matters: Handmade art carries sentimental value and tells a story only you can tell.
Quick Answers to Common Questions
What type of wood is best for DIY wall art?
Pine, plywood, and reclaimed wood are great choices. They’re affordable, easy to cut, and take paint or stain well.
Do I need power tools to make wood wall art?
No! Many projects use hand tools like sandpaper, a hand saw, and a hammer. Power tools help but aren’t required.
Can I paint directly on wood?
Yes, but always sand and clean the surface first for better adhesion. Use acrylic or latex paint for best results.
How do I hang heavy wood art safely?
Use wall anchors or mount into studs. For very heavy pieces, consider a French cleat system for extra support.
Is reclaimed wood safe to use indoors?
Yes, as long as it’s clean, dry, and free of pests. Sand and seal it to prevent splinters and dust.
📑 Table of Contents
Why Choose DIY Wood Wall Art?
There’s something deeply satisfying about creating art with your own hands. DIY wood wall art isn’t just about saving money—it’s about crafting something meaningful. Store-bought decor often lacks personality, but when you build your own piece, you control every detail: the size, the finish, the message, even the type of wood. This level of customization ensures your artwork fits perfectly into your space and aligns with your aesthetic.
Another major advantage? Sustainability. Instead of tossing out old pallets, broken furniture, or scrap wood, you can repurpose them into beautiful wall hangings. This eco-friendly approach reduces waste and gives new life to materials that might otherwise end up in a landfill. Plus, working with reclaimed wood often means you’re using wood with character—knots, nail holes, and weathered textures that add charm and history to your piece.
Budget-Friendly Creativity
You don’t need expensive tools or premium lumber to make impressive wood art. Many successful projects start with just a few dollars’ worth of materials. For example, a simple wooden sign with a hand-painted quote can be made using a scrap piece of pine, some acrylic paint, and a basic brush. Even more complex designs like layered wood landscapes or 3D wall sculptures can be built using affordable plywood or balsa wood from your local craft store.
Skill Level Flexibility
One of the greatest things about DIY wood wall art is that it’s accessible to everyone—from complete beginners to seasoned DIYers. If you’re just starting out, begin with no-cut projects like staining and sealing pre-cut wood shapes. As you gain confidence, you can move on to using a jigsaw or miter saw for more intricate cuts. There’s no rush—every project is a chance to learn and improve.
Essential Tools and Materials
Visual guide about DIY Wood Wall Art Ideas to Transform Your Space
Image source: i.pinimg.com
Before diving into your first project, it helps to know what tools and materials you’ll need. The good news? Most of these are likely already in your garage or can be borrowed from a friend.
Basic Tools
- Hand saw or jigsaw: For cutting wood to size. A jigsaw is great for curves and detailed work.
- Sandpaper or electric sander: Smooths rough edges and prepares the surface for staining or painting.
- Measuring tape and pencil: Essential for accurate cuts and layouts.
- Clamps: Hold pieces in place while glue dries or when making precise cuts.
- Drill and screws/nails: For assembling multi-piece designs or mounting hardware.
Common Materials
- Plywood or pine boards: Affordable and easy to work with for most projects.
- Reclaimed wood: Adds rustic charm and sustainability.
- Wood glue: Stronger than nails for joining pieces.
- Stain, paint, or sealant: Protects the wood and enhances its appearance.
- Picture hangers or D-rings: For secure wall mounting.
Don’t forget safety! Always wear safety goggles when cutting or sanding, and work in a well-ventilated area when using finishes.
Top DIY Wood Wall Art Ideas
Visual guide about DIY Wood Wall Art Ideas to Transform Your Space
Image source: media.blitsy.com
Ready to get creative? Here are some popular and achievable DIY wood wall art ideas that can transform any room.
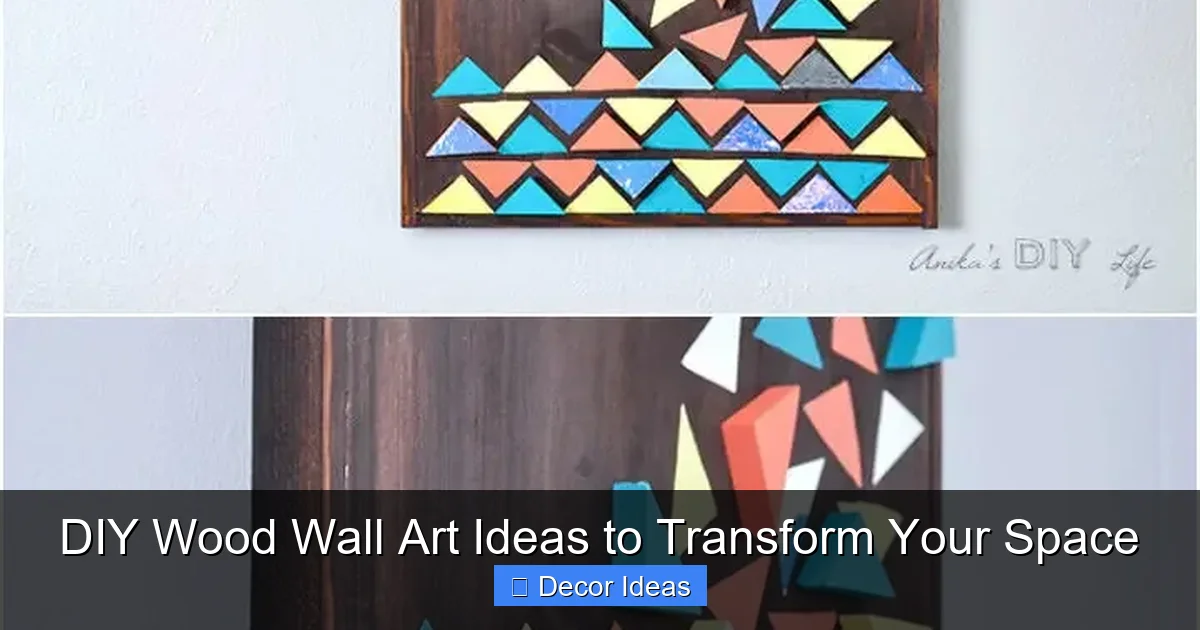
1. Geometric Wood Wall Sculpture
Geometric designs are modern, eye-catching, and surprisingly simple to make. Start by cutting several pieces of wood into triangles, rectangles, or hexagons. Arrange them on the wall in a balanced pattern—think asymmetrical clusters or symmetrical grids. Use wood glue and small nails to attach them to a backing board or directly to each other. Sand the edges smooth and finish with a clear coat or bold paint for a contemporary look.
Tip: Use contrasting wood tones (like light birch and dark walnut) to make the shapes pop.
2. Rustic Wood Sign with Quote
Nothing says cozy like a hand-stenciled quote on reclaimed wood. Find a weathered board—old fence planks work great—and sand it lightly to smooth splinters. Choose an inspiring phrase or family motto, then use stencils and acrylic paint to add the text. Seal with a matte finish to protect the paint and preserve the wood’s natural texture.
Pro tip: Add small nail holes around the edges for a vintage farmhouse feel.
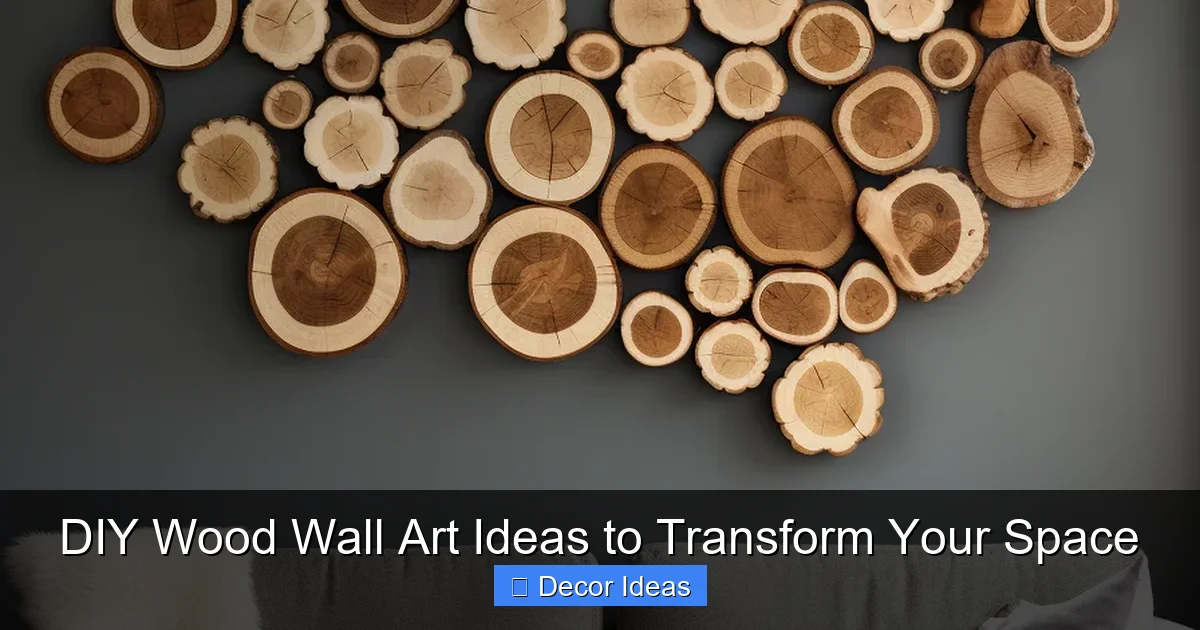
3. Wood Slice Wall Hanging
Wood slices (also called rounds) are naturally beautiful and require minimal crafting. You can buy them pre-cut or slice them yourself from a log using a chainsaw (safely, of course!). Arrange them in a vertical line or scattered cluster on the wall. Leave them natural, or paint them with watercolor for a soft, artistic touch. Add small hooks to hang lightweight items like keys or dried flowers.
Bonus: Each slice has unique grain patterns, making your art one-of-a-kind.
4. 3D Layered Landscape
Create depth with a multi-layered wood landscape. Use plywood to cut out mountain silhouettes, trees, or city skylines. Paint each layer a different shade—darker in the back, lighter in front—to enhance the 3D effect. Mount them on the wall with small spacers so they float slightly off the surface. This technique works especially well in nurseries or modern living rooms.
5. Wooden Letter Monogram
Personalize your space with a large wooden monogram. Buy pre-cut letters from a craft store or cut them yourself using a jigsaw. Sand the edges and paint or stain them to match your decor. Arrange the letters on the wall in a script or block style. For extra flair, add fairy lights behind the letters for a soft glow.
6. Driftwood Wall Art
If you live near the coast, collect driftwood for a free, natural material. Clean it thoroughly and let it dry. Arrange the pieces into a sunburst, tree shape, or abstract design. Secure them to a backing board with wire or strong glue. The irregular shapes and weathered textures create a calming, beachy vibe.
Step-by-Step: How to Make a Simple Wood Wall Art Piece
Visual guide about DIY Wood Wall Art Ideas to Transform Your Space
Image source: ahouseinthehills.com
Let’s walk through a beginner-friendly project: a painted wood wall hanging with a nature-inspired design.
Materials Needed
- One 12” x 12” piece of pine or plywood
- Sandpaper (medium and fine grit)
- Acrylic paint (forest green, white, brown)
- Paintbrushes
- Pencil and stencil (optional)
- Clear sealant spray
- Picture hanger
Instructions
- Prepare the wood: Sand the entire surface until smooth. Wipe away dust with a damp cloth.
- Sketch your design: Lightly draw a simple tree, mountain range, or leaf pattern with a pencil.
- Paint the background: Use a base coat of forest green. Let it dry completely.
- Add details: Paint the tree trunk and branches in brown, then add white highlights for depth.
- Seal the piece: Spray with clear sealant to protect the paint and wood.
- Attach hanger: Screw a picture hanger to the back and mount on the wall.
This project takes about 2–3 hours and costs under $15. It’s perfect for a bedroom, entryway, or gift.
Tips for Hanging and Styling Your Art
Once your masterpiece is complete, it’s time to display it proudly. But how you hang and style it can make all the difference.
Choose the Right Location
Consider the room’s purpose and traffic. A large wood sculpture works well above a sofa or bed, while smaller pieces can fill narrow walls or staircases. Avoid hanging art in direct sunlight, which can fade finishes over time.
Use Proper Hardware
Don’t rely on tape or sticky hooks—wood art can be heavy. Use wall anchors for drywall or screw directly into studs. For heavier pieces, install a French cleat system for extra support.
Create a Gallery Wall
Mix your wood art with framed photos, mirrors, or metal accents for a dynamic display. Keep spacing consistent (2–3 inches between pieces) and align the tops or centers for a cohesive look.
Balance with Other Decor
Let your wood art shine by keeping surrounding decor simple. Avoid cluttering the area with too many small items. A single statement piece often has more impact than a crowded wall.
Conclusion
DIY wood wall art is more than a craft—it’s a way to express yourself, save money, and create a home that feels truly yours. Whether you’re painting a quote, building a 3D landscape, or upcycling driftwood, each project adds warmth, texture, and personality to your space. With just a few tools and a little imagination, you can transform blank walls into stunning focal points that reflect your style and story.
So grab some wood, fire up your creativity, and start building. Your walls—and your home—will thank you.
🎥 Related Video: Living Room Decorating Ideas | Wooden Wall Decoration Ideas | Wooden Wall Art
📺 Home Decor Ideas
Frequently Asked Questions
How much does it cost to make DIY wood wall art?
Most projects cost between $10 and $30, depending on materials. Using reclaimed wood or scraps can make it nearly free.
Can beginners make wood wall art?
Absolutely! Many designs require only basic tools and simple techniques. Start with no-cut projects and work your way up.
What finish should I use on wood art?
Use a clear polyurethane, wax, or sealant spray to protect the wood and enhance its natural beauty. Choose matte or satin for a modern look.
How do I prevent wood from warping?
Use kiln-dried wood and avoid high-humidity areas. Seal both sides of the wood to minimize moisture absorption.
Can I make wood art without nails or screws?
Yes! Use strong wood glue for joining pieces. For hanging, consider adhesive strips rated for the weight—though they’re best for lighter pieces.
Where can I find free wood for projects?
Check local classifieds, construction sites (with permission), or ask furniture makers for scraps. Old pallets can also be a great source.