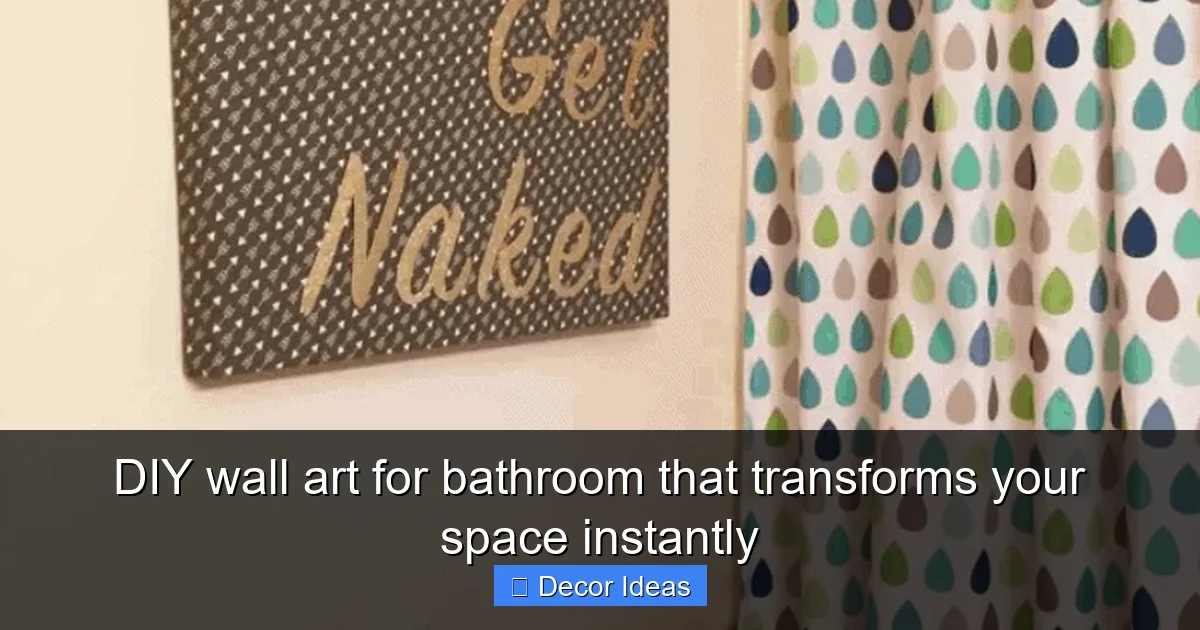
DIY wall art for bathroom that transforms your space instantly
DIY wall art for bathroom is a simple, affordable way to add personality and style to one of the most overlooked rooms in your home. With a few creative materials and minimal effort, you can craft unique pieces that reflect your taste and instantly refresh your space.
Your bathroom doesn’t have to be just a functional space—it can be a calming retreat, a stylish sanctuary, or even a bold statement room. Yet, when it comes to decorating, the bathroom is often the last place people think to personalize. That’s where DIY wall art for bathroom comes in. With a little creativity and some simple supplies, you can transform bare, boring walls into a gallery of charm and character.
The best part? You don’t need to be an artist or spend a fortune. Whether you’re working with a tiny powder room or a spacious master bath, handmade wall art adds warmth, color, and personality in ways that mass-produced decor simply can’t. From framed quotes to painted canvases and nature-inspired prints, the options are endless—and the results are always uniquely yours.
Key Takeaways
- Personalize your bathroom: DIY wall art lets you express your style with custom colors, themes, and messages that store-bought decor can’t match.
- Save money: Create stunning pieces using inexpensive or recycled materials like old frames, fabric scraps, or washi tape.
- Easy to make: Most projects require only basic tools and 30–60 minutes, making them perfect for beginners.
- Moisture-resistant options: Choose waterproof materials like acrylic paint, sealed wood, or laminated prints to ensure longevity in humid environments.
- Quick transformation: A single piece of handmade art can dramatically change the mood and feel of your bathroom.
- Eco-friendly choices: Upcycle old items or use sustainable materials to reduce waste while decorating.
- Seasonal updates: Swap out artwork easily to match holidays, seasons, or your evolving taste.
Quick Answers to Common Questions
Can I use regular paper for bathroom wall art?
It’s not recommended. Regular paper can warp or mold in humid conditions. Use laminated prints, sealed paper, or waterproof materials instead.
How do I hang art on tile walls?
Use adhesive hooks rated for tile, or drill carefully with a masonry bit and use wall anchors. Avoid damaging grout lines when possible.
Is acrylic paint safe for bathrooms?
Yes, once fully dried and sealed, acrylic paint is waterproof and durable, making it ideal for bathroom DIY projects.
Can I change my wall art seasonally?
Absolutely! Use removable washi tape, clip frames, or lightweight pieces that are easy to swap out for holidays or seasons.
Do I need to seal my DIY art?
Sealing is highly recommended, especially for paper, fabric, or painted pieces. Use a clear acrylic sealer to protect against moisture and fading.
📑 Table of Contents
Why DIY Wall Art Works Wonders in Bathrooms
Bathrooms are high-moisture environments, which often limits decor choices. But that doesn’t mean they have to be dull. In fact, the right kind of wall art can enhance the room’s ambiance, making it feel more inviting and luxurious. DIY projects give you full control over materials, size, and design, so you can tailor each piece to your space.
Unlike store-bought art, which may not fit your color scheme or style, handmade pieces are made just for you. They reflect your personality and can be updated anytime. Plus, creating your own art is a fun, therapeutic activity that adds a sense of accomplishment to your home improvement journey.
The Emotional Impact of Art in Small Spaces
Even in compact bathrooms, a single piece of wall art can make a big difference. It draws the eye, adds depth, and creates a focal point. Imagine stepping into a bathroom with a soft watercolor landscape above the sink or a motivational quote framed near the mirror—it sets a positive tone for your day.
Art also helps define the room’s mood. Soft pastels and nature scenes promote relaxation, while bold geometric patterns or bright colors can energize the space. With DIY, you can experiment freely until you find the perfect vibe.
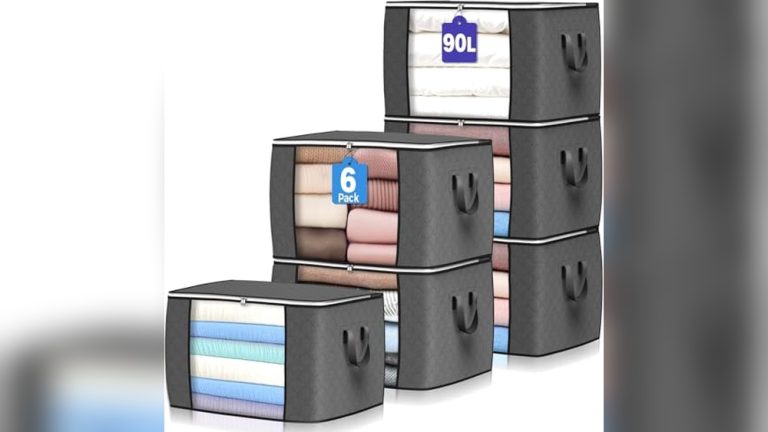
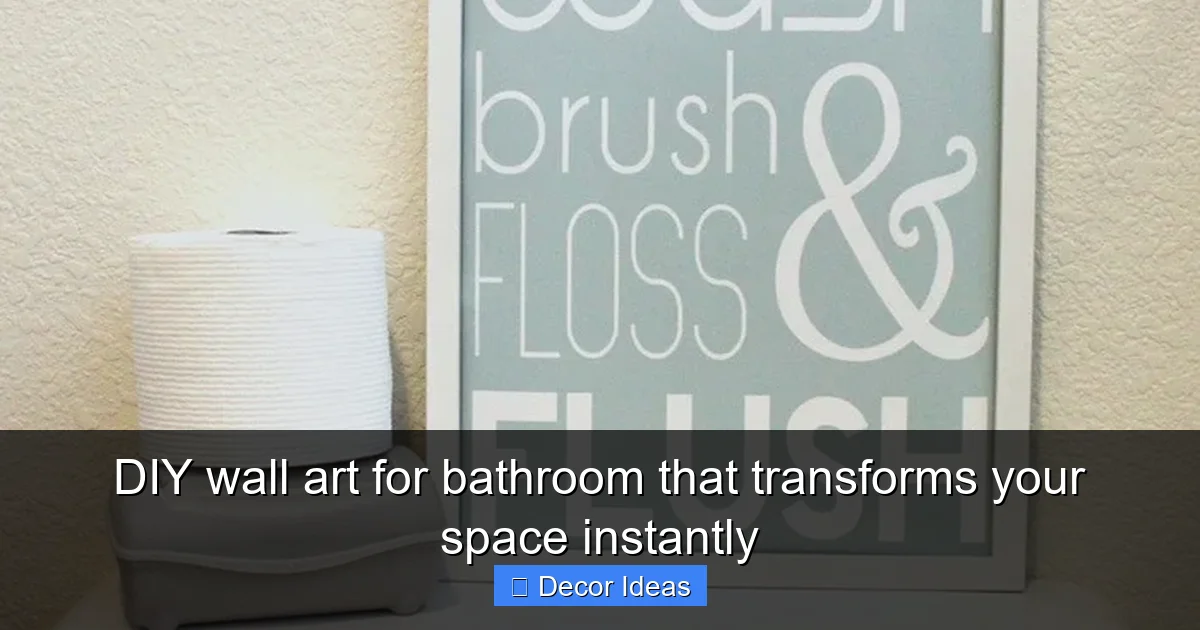
Materials That Work Best for Bathroom DIY Art
Visual guide about DIY wall art for bathroom that transforms your space instantly
Image source: sunrisespecialty.com
When crafting wall art for humid spaces, material choice is key. You want pieces that look great and last long—without warping, peeling, or growing mold. The good news is, many affordable and accessible materials are bathroom-safe.
Waterproof and Mold-Resistant Options
Start with surfaces that can handle moisture. Acrylic paint is a top choice because it’s waterproof when dry and comes in endless colors. Use it on sealed wood, canvas, or even ceramic tiles for a custom look. For prints or photos, laminate them or frame them under glass to protect against steam.
Sealed wood, like plywood or MDF with a waterproof sealant, is another excellent base. It’s sturdy, easy to cut, and accepts paint beautifully. Avoid untreated paper or cardboard, which can warp or deteriorate quickly in humid conditions.
Eco-Friendly and Upcycled Materials
Go green by repurposing old items. Turn vintage picture frames into modern art by painting them and adding new inserts. Use fabric scraps to create textured wall hangings or decoupage designs. Even old magazines, maps, or sheet music can be transformed into collages when sealed properly.
Washi tape is another eco-friendly favorite. It’s removable, comes in countless patterns, and sticks well to walls without damaging paint. Use it to create geometric designs, borders, or even 3D effects on plain walls.
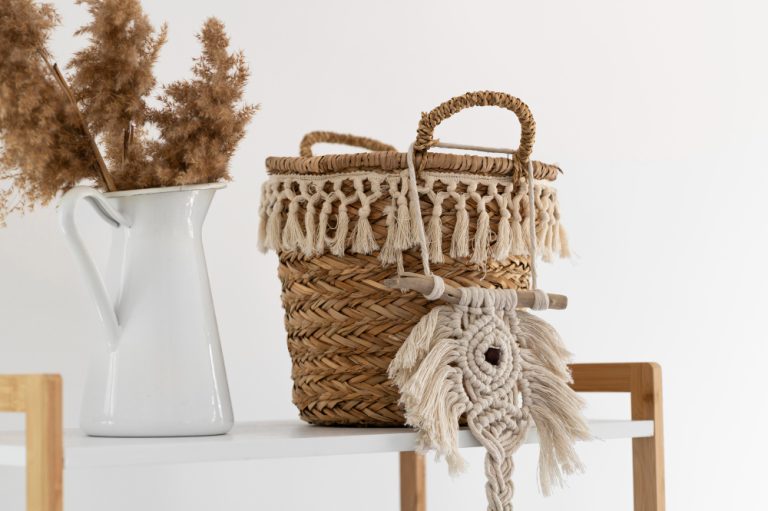
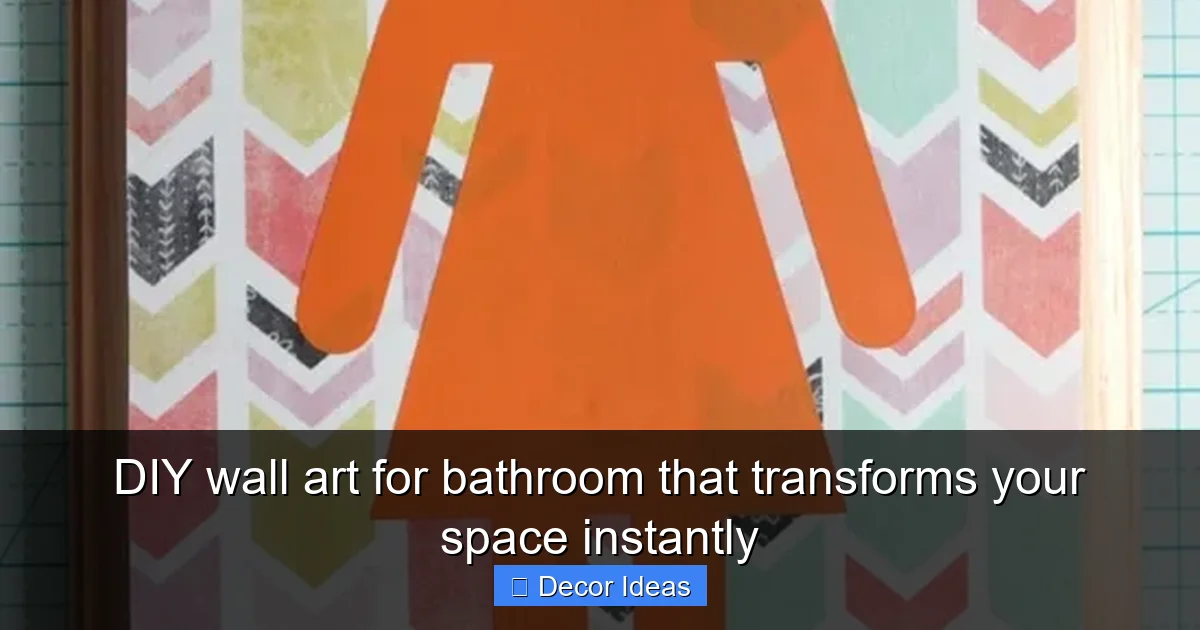
5 Easy DIY Wall Art Projects for Your Bathroom
Visual guide about DIY wall art for bathroom that transforms your space instantly
Image source: cutesycrafts.com
Ready to get creative? These five beginner-friendly projects require minimal tools and deliver maximum impact. Each one is designed to thrive in bathroom conditions and can be completed in under an hour.
1. Framed Inspirational Quote
Nothing lifts the spirit like a daily dose of motivation. Choose a short, uplifting phrase—like “Breathe,” “You’ve Got This,” or “Calm & Clean”—and print it on high-quality paper. Use a font that matches your bathroom’s style: elegant script for a spa-like feel, bold sans-serif for modern spaces.
Frame it in a simple black or white frame, or paint an old frame to match your color scheme. For extra protection, use a frame with glass or acrylic covering. Hang it at eye level near the mirror or above the toilet for a daily reminder to start your day right.
2. Painted Canvas with Abstract Design
No artistic skills? No problem. Abstract art is all about expression, not perfection. Grab a small canvas (8×10 or 11×14 inches works well), some acrylic paints, and a few brushes or sponges.
Start with a base coat in a neutral or soft tone—think seafoam green, soft gray, or pale blue. Once dry, add swirls, dots, or streaks in complementary colors. Use a palette knife for texture or tape off sections for clean lines. Let it dry completely, then seal with a clear acrylic spray for moisture resistance.
This project is endlessly customizable. Match your bathroom’s palette or go bold with a pop of coral or gold.
3. Nature-Inspired Pressed Flower Art
Bring the outdoors in with delicate pressed flowers or leaves. Collect blooms from your garden or buy dried florals from a craft store. Arrange them on watercolor paper in a simple composition—maybe a single bloom in the center or a cluster in one corner.
Glue them down with a waterproof adhesive, then seal the entire piece with Mod Podge or a clear resin coating. Frame under glass to protect from humidity. This soft, organic look pairs beautifully with neutral tiles and natural wood accents.
4. Geometric Washi Tape Design
For a no-mess, no-commitment option, washi tape is your best friend. Choose two or three coordinating patterns—like marble, wood grain, and solid color—and create a geometric design directly on the wall.
Try a diamond pattern above the sink, a chevron stripe behind the toilet, or a framed rectangle around a mirror. Washi tape peels off cleanly, so you can change it seasonally or whenever you want a refresh. It’s perfect for renters or anyone who likes to switch things up.
5. Upcycled Frame with Fabric or Wallpaper
Give an old frame new life by replacing the backing with fabric or decorative wallpaper. Remove the glass and cardboard, then cut a piece of fabric or wallpaper to fit the frame’s dimensions.
Secure it with glue or double-sided tape, then reassemble the frame. The result is a textured, dimensional piece that adds depth and interest. Choose a fabric with a subtle pattern or a wallpaper with a soft botanical print to complement your bathroom’s theme.
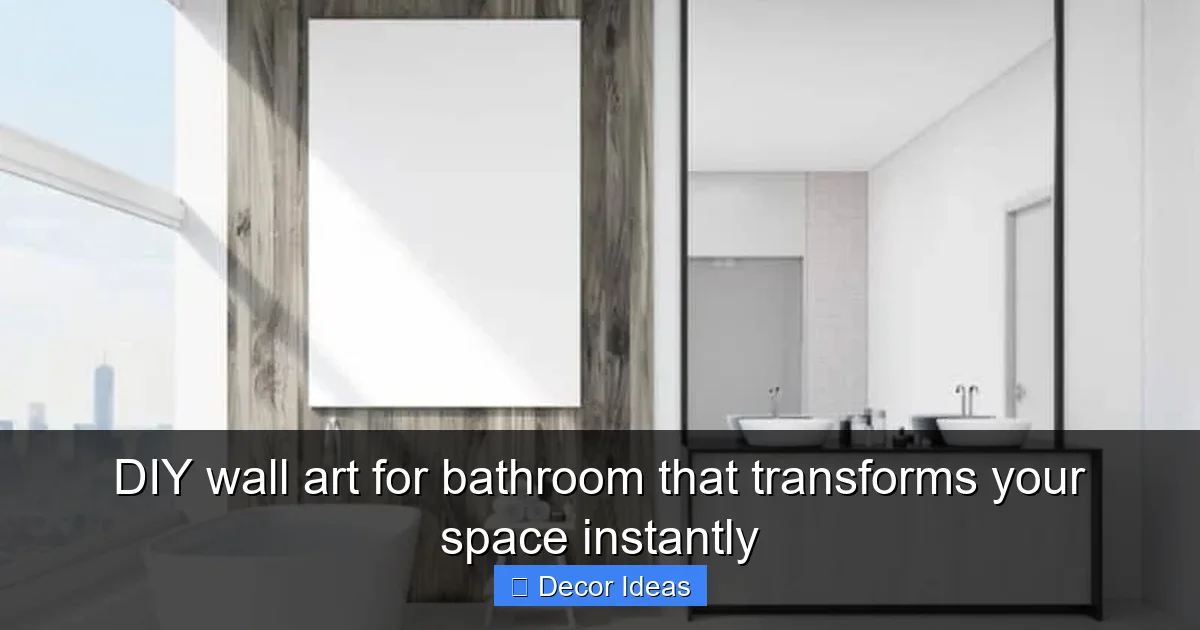
Tips for Hanging and Maintaining Your DIY Art
Visual guide about DIY wall art for bathroom that transforms your space instantly
Image source: cutesycrafts.com
Once your masterpiece is ready, proper installation ensures it stays put and looks great for years.
Choosing the Right Hanging Method
For lightweight pieces like washi tape designs or small frames, adhesive hooks or strips (like Command Strips) work perfectly. They hold securely and won’t damage walls—ideal for rentals.
Heavier items, like large canvases or framed art with glass, should be hung with nails or wall anchors. Use a level to ensure everything is straight, and consider the weight distribution. If you’re unsure, consult a hardware store for the best hanging hardware for your wall type (drywall, tile, etc.).
Protecting Your Art from Humidity
Even with waterproof materials, prolonged exposure to steam can affect your art over time. To extend its life, avoid hanging pieces directly above the shower or bathtub. Instead, place them on walls near the sink, toilet, or doorway.
If your bathroom lacks ventilation, consider using an exhaust fan during and after showers to reduce moisture buildup. For extra protection, apply a clear sealant spray to painted or paper-based art every six months.
Styling Tips to Make Your Art Shine
Great art deserves great presentation. Use these styling tricks to make your DIY pieces stand out.
Create a Gallery Wall
Group three to five small pieces together for a curated look. Mix frames, sizes, and textures—like a painted canvas, a fabric-covered frame, and a washi tape design—for visual interest. Arrange them on the floor first to plan the layout, then hang them with consistent spacing (about 2–3 inches apart).
Match Your Bathroom’s Theme
Let your art reflect the room’s overall style. A coastal bathroom might feature ocean blues, seashell motifs, or nautical quotes. A minimalist space could use monochrome art with clean lines. A bohemian vibe welcomes colorful patterns, tassels, and mixed media.
Use Lighting to Highlight Your Art
Add drama by positioning a small LED spotlight or wall sconce near your artwork. Even natural light from a window can make colors pop. Just avoid direct sunlight, which can fade pigments over time.
Conclusion
Transforming your bathroom with DIY wall art is one of the easiest and most rewarding home decor projects you can tackle. It’s affordable, creative, and deeply personal. Whether you’re painting a canvas, framing a quote, or designing with washi tape, each piece tells a story—your story.
You don’t need a big budget or professional skills to make a big impact. With the right materials, a little time, and a dash of imagination, you can turn a plain bathroom into a stylish, soulful space that feels truly yours. So grab your supplies, pick a project, and start creating. Your walls—and your daily routine—will thank you.
🎥 Related Video: DIY OVERSIZED WALL ART from a Shower Curtain!!
📺 DIY Dream Home with Cara Newhart
Frequently Asked Questions
What kind of paint should I use for bathroom wall art?
Acrylic paint is the best choice because it’s waterproof when dry and comes in a wide range of colors. Always seal your finished piece with a clear acrylic sealer for added protection against humidity.
Can I make wall art without a frame?
Yes! You can mount fabric, wallpaper, or painted canvases directly to a wooden board or use washi tape to create designs straight on the wall. Just ensure the materials are moisture-resistant.
How do I prevent mold on my bathroom wall art?
Use waterproof materials, avoid hanging art directly over water sources, and ensure good ventilation in the bathroom. Sealing your art with a protective coating also helps prevent mold growth.
Is it okay to hang art in a small bathroom?
Yes, and it can actually make the space feel larger and more inviting. Choose light colors, simple designs, and avoid overcrowding the walls to maintain a sense of openness.
Can I use photos in my bathroom wall art?
You can, but they must be protected. Print photos on waterproof paper or laminate them, then frame them under glass or acrylic to shield them from steam and moisture.
What’s the easiest DIY wall art project for beginners?
A framed inspirational quote is the simplest option. Just print a favorite phrase, place it in a frame, and hang it. It requires no painting or complex tools and makes a big impact.