How to Clean Mirror? [Learn The Easy & Affective Way to Clean Your Mirror]
Learning how to clean mirror surfaces effectively without leaving annoying streaks or smudges can completely transform the look of your bathroom or hallway. This comprehensive guide walks you through the best DIY cleaning solutions, top-rated commercial products, and expert techniques to achieve a crystal-clear reflection every single time. Say goodbye to hazy glass and hello to a sparkling home!
Have you ever spent ages wiping down your bathroom glass, only to step back and realize it looks worse than when you started? You are definitely not alone. Figuring out how to clean mirror surfaces without leaving behind a frustrating maze of streaks and smudges can feel like an impossible magic trick. Between dried toothpaste splatters, hairspray mist, and everyday dust, our home reflections take a beating.
The good news is that achieving a brilliant, streak-free shine does not require harsh chemicals or expensive professional tools. In fact, you probably already have everything you need sitting in your kitchen cabinet. Whether you are prepping for guests or just want to enjoy a clear view during your morning routine, mastering this simple household chore is easier than you think.
Key Takeaways
- Preparation Matters: Always dust your mirror and spot-clean stubborn stains before applying any liquid cleaner to prevent mud streaks.
- Microfiber is Essential: Switch to tightly woven microfiber cloths to avoid lint and scratches left behind by paper towels.
- DIY Friendly: A simple 50/50 mix of white vinegar and distilled water works wonders as a natural, streak-free glass cleaner.
- Spray the Cloth: Never spray liquid directly onto the glass, as it can seep behind the edges and ruin the silver backing.
- Wipe in an S-Pattern: Use an S-shaped wiping motion instead of circles to ensure complete coverage and prevent missed spots.
- Invest in Top Tools: Using dedicated top products like squeegees and specialized cleaning pads makes routine maintenance much faster.
- Avoid Harsh Chemicals: Steer clear of ammonia and abrasive scrubs that can ruin the frame and erode the mirror coating.
Understanding Your Mirror
Before you grab a bottle of glass cleaner and a rag, it helps to understand what you are actually working with. Mirrors are not just regular glass windows. They are delicate pieces of art and engineering combined, and knowing their structure will help you protect your investment for years to come.
The Anatomy of a Mirror
A standard home mirror is made of a sheet of clear glass with a reflective metal coating applied to the back side, usually protected by a layer of paint or sealant. When you learn how to clean mirror surfaces properly, you are protecting not just the front glass, but also that sensitive back coating. If liquid seeps into the edges of the mirror, it can attack the silver backing and cause those ugly black edges or dark spots that can never be reversed.
Why Streaks Happen
Have you ever wondered why streaks form in the first place? They usually happen for three reasons: using too much product, using dirty or lint-heavy rags, or cleaning in direct sunlight. When the sun hits your mirror, it causes the cleaning liquid to evaporate way too fast before you can wipe it away. This leaves behind a soapy residue that turns into a hazy film. Once you know this, you can easily change your routine to avoid it.
Gathering Your Supplies
Having the right gear makes all the difference. When exploring how to clean mirror surfaces quickly and efficiently, professional cleaners always rely on a specific set of tools. You do not need a closet full of gadgets, just a few high-performing items.
The Best Cloths to Use
Throw away those old paper towels and worn-out cotton rags right now. Paper towels leave behind tiny paper fibers and lint, which stand out immediately against shiny glass. Instead, invest in a pack of high-quality microfiber cloths. These tiny synthetic fibers are designed to trap dust and absorb moisture without leaving a single trace behind. Glass-specific weave microfiber cloths work even better because they are completely smooth and non-abrasive.
Choosing Your Cleaning Solution
You have two main paths when it comes to the cleaning liquid: commercial top products or homemade mixes. Store-bought glass cleaners are convenient and formulated to dry quickly. However, a simple DIY solution made of equal parts white vinegar and distilled water is completely natural, highly effective, and costs pennies. Distilled water is especially important if you live in an area with hard water, as tap water contains minerals that leave behind cloudy spots.
Step-by-Step Cleaning Process
Now that you have your supplies ready, let us walk through the exact method for getting that coveted hotel-quality shine. Following a logical order saves time and guarantees a flawless finish.
Step 1: Prep and Dust
Never spray liquid onto a dusty mirror. If you do, the dust mixes with the liquid and turns into a muddy paste that smears across the glass and can potentially scratch the surface. Take a dry microfiber cloth or a feather duster and quickly wipe down the glass frame and the mirror surface to remove loose dust and pet hair.
Step 2: Spot-Clean Stubborn Spots
Those crusty toothpaste drops or bits of hairspray need a little extra attention before you tackle the whole glass. Dip a corner of your cloth into a bit of rubbing alcohol or your vinegar solution and dab at the spots. Let it sit for a few seconds to break down the sticky residue, then gently wipe it away. This keeps you from having to scrub the entire mirror unnecessarily.
Step 3: The Wiping Technique
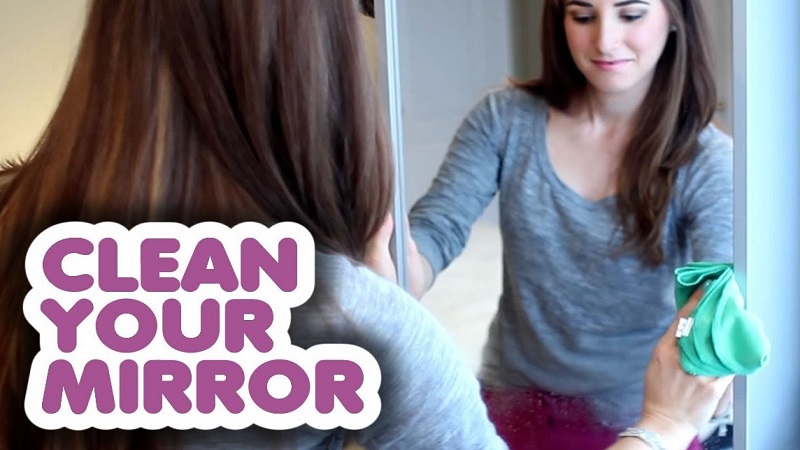
Here is the golden rule of how to clean mirror surfaces: never wipe in random circles. Circular motions often just push the dirt around in circles rather than removing it. Instead, start at the top left corner and wipe across to the right in a steady, overlapping Z-pattern or S-pattern. Work your way down to the bottom of the mirror. This ensures you cover every single inch without missing spots or creating streaks.
Using Top Products for Best Results
If you prefer using ready-made commercial items, the market is full of top products designed to make glass cleaning effortless. Knowing which ones to choose can save you money and frustration.
Commercial Sprays vs. Foams
Traditional liquid glass sprays are great for general wipedowns, but glass cleaning foams have become massive favorites for a reason. Foam cleaners cling to vertical surfaces instead of instantly running down to the bottom and pooling on your frame or counter. This gives the active ingredients more time to break down grease and grime before you wipe it away.
Specialized Tools
For large wall mirrors or bathroom vanity mirrors, using a small rubber squeegee is a total game-changer. Professional window cleaners use squeegees because they remove 100 percent of the moisture in a single swipe. Pair a good squeegee with a quick wipe along the edges using a dry microfiber cloth, and you will have the cleanest mirror in the neighborhood.
Advanced Tips and Troubleshooting
Even with the best routine, you might occasionally run into stubborn problems. Here are some pro tips to handle tricky situations and keep your mirrors looking pristine for longer.
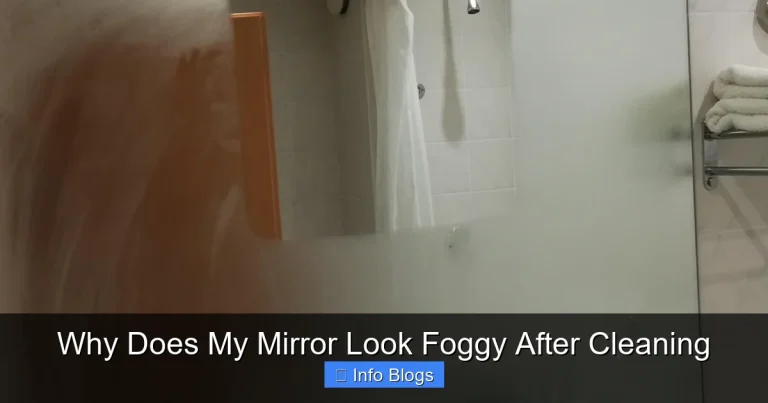
Dealing with Foggy Bathroom Mirrors
Do you hate when your bathroom mirror fogs up during a hot shower? You can actually prevent this with a clever little household trick. Once your mirror is completely clean and dry, take a small amount of shaving cream, rub it onto the glass with a cloth, and then buff it off with a clean microfiber cloth. This leaves an invisible protective barrier that stops condensation from clinging to the glass for days.
Avoiding Common Mistakes
Always remember to spray your cleaner directly onto your cloth, never onto the mirror itself. Spraying the glass directly allows liquid to run down into the frame joints, which can rot wooden frames or ruin the silver backing. Also, avoid using vinegar on natural stone countertops that might sit right below your mirror, as the acid can etch the stone.
Conclusion
Learning how to clean mirror surfaces does not have to be a frustrating chore. By ditching the paper towels, using a simple vinegar-and-water solution or top-tier commercial spray, and employing the clever S-pattern wiping technique, you can achieve a streak-free shine every single time. Take a few minutes this week to try out these steps, and enjoy the bright, clear reflection looking back at you!
Frequently Asked Questions
What is the absolute best homemade mirror cleaner?
A simple mixture of equal parts white vinegar and distilled water is widely considered the best DIY mirror cleaner. It cuts through grease and grime naturally without leaving behind a soapy residue or chemical film.
Why do my mirrors look streaky after I clean them?
Streaks usually happen because you used too much product, wiped in a circular motion, used paper towels that left lint behind, or cleaned the mirror while direct sunlight was hitting the glass surface.
Should I spray cleaner directly onto the mirror?
No, you should always spray the cleaning solution directly onto your microfiber cloth instead of the glass. This prevents excess liquid from seeping behind the edges of the mirror and ruining the reflective backing.
Can I use newspaper to dry my mirrors?
While old-school cleaners used to recommend newspaper, it is no longer advised. Modern newspaper inks can easily bleed and leave permanent black stains on your hands, frames, and the glass itself.
How do I stop my bathroom mirror from fogging up?
You can prevent fog by coating a clean, dry mirror with a thin layer of shaving cream, letting it sit for a minute, and then buffing it completely clear with a dry microfiber cloth.
How often should I clean my home mirrors?
For high-traffic areas like bathroom vanities, a quick wipe down once a week is ideal to prevent toothpaste splatters and dust buildup. Less frequently used decorative mirrors can be cleaned monthly.