How to Frame a Mirror? [Read To Know the Tips & Tricks]
Learning how to frame a mirror is one of the easiest ways to upgrade a plain bathroom or hallway space without spending a fortune. With just a few simple tools, some wood or molding, and a bit of adhesive, you can completely transform a boring, flat glass mirror into a custom design statement. This comprehensive guide will walk you through every step of the process, from measuring and cutting to painting and installation.
Do you have a boring, flat builder-grade mirror hanging in your bathroom? You know the kind I mean—it just sticks straight to the drywall with no frame, no character, and zero style. If you are tired of looking at that plain slab of glass every morning, I have some great news for you. You do not need to tear it down or spend hundreds of dollars on a custom piece. Instead, you can learn how to frame a mirror yourself in just a single weekend.
Adding a frame around an existing wall mirror instantly elevates the entire room. It takes a utilitarian object and turns it into an intentional piece of wall art. Best of all, this DIY project is surprisingly friendly for beginners. You do not need a massive woodworking shop or years of experience. With a few basic supplies from the hardware store and a little bit of patience, you can pull off a high-end look for very little money.
Key Takeaways
- Preparation is key: Always clean your mirror thoroughly and measure multiple times before buying or cutting any framing materials.
- Choose your material: You can use standard wood trim, pre-made frame kits, or even lightweight PVC molding depending on your skill level and budget.
- The right adhesive matters: Use a mirror-safe adhesive or heavy-duty construction adhesive that will not damage the silver backing of the glass.
- Corner cuts require precision: A miter saw or miter box is essential for achieving clean 45-degree angles at the corners of your frame.
- Finish before you mount: Paint, stain, or seal your wood pieces before gluing them to the wall for a much cleaner final look.
- Support heavy frames: If your frame is made of solid, heavy wood, use painter’s tape to hold the pieces in place while the adhesive cures completely.
Choosing the Right Materials for Your Mirror Frame
Before you make any cuts, you need to decide what your new frame is going to be made of. The material you choose will dictate your budget, the tools you need, and the overall vibe of the finished project. Take a look around your bathroom or hallway to see what finish will match your existing hardware, faucets, and light fixtures.
Types of Wood and Molding
Wood is the classic choice when figuring out how to frame a mirror. You can visit your local home improvement store and browse the molding aisle. Look for casing, baseboard, or decorative trim pieces that catch your eye. Poplar and pine are affordable and easy to paint, while oak and maple offer beautiful natural wood grain if you prefer to stain your frame.
Alternative Lightweight Materials
If you are worried about weight, or if you want something that is super easy to cut, consider lightweight PVC molding or polystyrene frames. These materials will not warp in high-humidity bathroom environments. They can be cut with a simple hand saw, making them ideal for apartment renters or anyone who wants a quick, fuss-free project.
Pre-Made Mirror Frame Kits
If you want to skip the cutting process entirely, look into modular mirror framing kits. These kits come with pre-mitered corners and proprietary locking systems designed to snap right over the edges of a flat glass mirror. They come in various finishes like brushed nickel, bronze, and traditional white wood.
Gathering Your Tools and Supplies
Having the right tools on hand before you start will make the entire process go smoothly. Once you know how to frame a mirror, you will see that preparation is half the battle. Here is a checklist of what you will likely need:
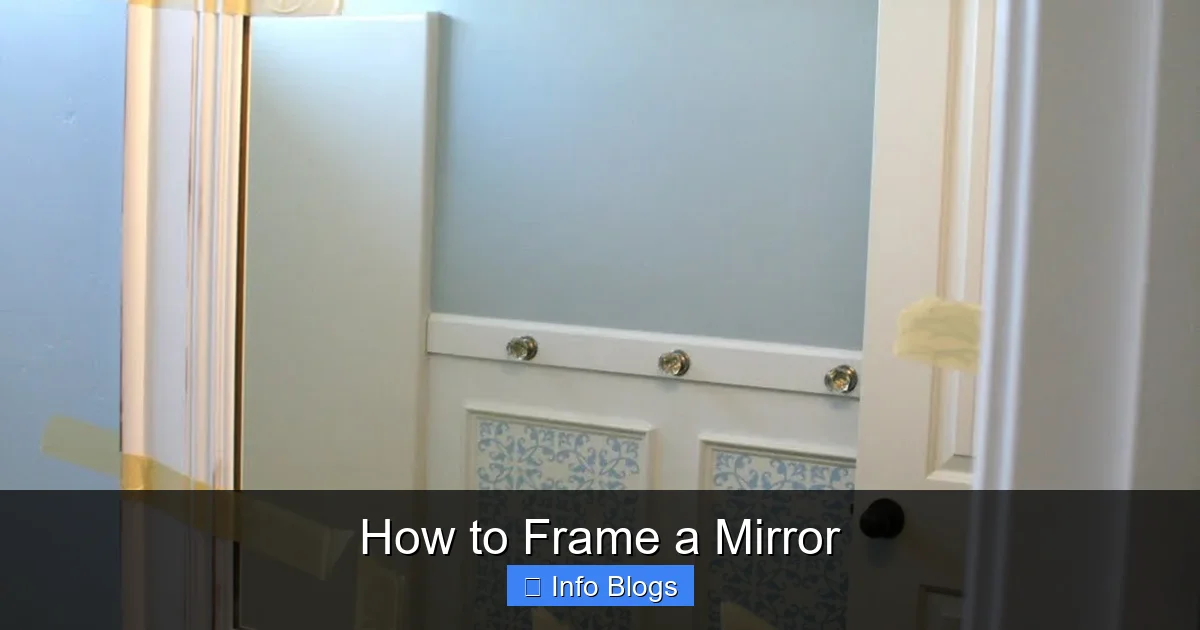
Visual guide about How to Frame a Mirror
Image source: 1.bp.blogspot.com
- Tape measure and pencil
- Miter saw or a manual miter box with a hand saw
- Wood glue or construction adhesive (make sure it is mirror-safe)
- Painter’s tape
- Caulk and a caulking gun (for filling small gaps at the corners)
- Wood filler or putty
- Sandpaper (medium and fine grit)
- Paint or wood stain, plus brushes
- Level
Pro tip: Always double-check your adhesive. Some standard construction glues contain harsh chemicals that can eat away at the reflective silver backing of a mirror, leaving dark spots or black edges over time. Look for a label that specifically states it is safe for mirrors.
Measuring and Cutting Your Frame Pieces
Accurate measurements are critical when learning how to frame a mirror. Even a tiny fraction of an inch can throw off your corner joints, leaving unsightly gaps. Take your time with this phase.
Taking Precise Measurements
Measure the width and height of the glass mirror itself, not the overall wall space. Write these numbers down carefully. Next, measure the thickness of the mirror glass plus any mounting clips or foam spacers behind it. You will want to make sure the back rabbet (the groove or lip) of your chosen molding is deep enough to cover these items completely.
Calculating Miter Cuts
For a professional look, you will want your frame pieces to meet at 45-degree angles in the corners. When you measure for a miter cut, remember that the inner edge of the molding will be shorter than the outer edge. Most molding pieces have a diagram on the back or in the store that helps you calculate lengths. Always cut your pieces slightly longer than you think you need; you can always trim them down, but you cannot add wood back once it is cut.
Making the Cuts
Set your miter saw to a precise 45-degree angle. Line up your pencil mark with the blade and make your cuts. If you are using a manual miter box, hold the saw steady and use smooth, even strokes to avoid chipping the wood. Cut all four pieces—top, bottom, left, and right—and do a dry fit on the floor to make sure they nest together neatly.
Finishing Your Wood Pieces
One of the best secrets for learning how to frame a mirror like a pro is to finish your wood before you glue it to the wall. Trying to paint or stain molding once it is attached to the glass is messy and often results in drips on the mirror.
Sanding and Priming
Give your cut wood pieces a light sanding with fine-grit sandpaper to smooth out any rough edges or splinters from the saw. Wipe away the dust with a tack cloth or a damp microfiber towel. If you are painting the frame, apply a coat of primer first, especially if you are using raw pine or MDF. This ensures your final paint color looks rich and even.
Painting or Staining
Apply two thin coats of your chosen paint or wood stain, allowing adequate drying time between coats. Lightly sand between coats if you want an ultra-smooth, furniture-grade finish. Once the final coat is completely dry, you are ready for the fun part: installation.
Attaching the Frame to the Mirror
Now comes the moment of truth. Putting the frame up requires a steady hand and a bit of coordination. If you are working with a large mirror, it is always a good idea to grab a friend to help you hold things in place.
Preparing the Glass Surface
Clean the outer edges of the mirror glass thoroughly with glass cleaner and rubbing alcohol. Any dust, soap scum, or oils left on the glass will prevent the adhesive from bonding securely. Let the surface dry completely before applying any glue.
Applying the Adhesive
Apply your mirror-safe construction adhesive to the back of one of your wood frame pieces in a zig-zag pattern. Do not put the adhesive too close to the inner edge, or it might squeeze out onto the glass when you press it down.
Securing the Pieces
Press the first frame piece firmly against the mirror and wall. Use a level to make sure it is straight. Repeat the process for the remaining three pieces, applying a small amount of wood glue to the 45-degree miter joints where the pieces meet each other. Use strips of blue painter’s tape to hold the miter joints tightly together while the glue dries.
Final Touch-Ups and Maintenance
Once your frame is securely attached and the adhesive has cured—usually about 24 hours—you can remove the painter’s tape. Step back and inspect your work. There is a good chance you might see tiny gaps at the corners or where the frame meets the wall.
Filling Gaps and Imperfections
Take a small tube of paintable caulk or wood filler and carefully fill any small gaps in the mitered corners. Smooth the caulk with a wet finger or a caulk tool. Once it dries, touch up those spots with a tiny artist’s paintbrush and your frame paint. This simple step is what separates a DIY project from a professional installation.
Enjoying Your New Upgrade
Give the mirror a final wipe down with glass cleaner, being careful not to soak the fresh paint or wood. Stand back and admire your handiwork. You have successfully learned how to frame a mirror, saving yourself hundreds of dollars while giving your bathroom a gorgeous, custom aesthetic.
Whether you choose a sleek modern black finish, a rustic farmhouse stained wood, or a bright white coastal trim, this project is guaranteed to boost your home’s style. Plus, every time you walk past that mirror, you will feel the satisfaction of knowing you built it yourself.
Frequently Asked Questions
Can I frame a mirror that is glued directly to the wall?
Yes, absolutely! Most builder-grade mirrors are glued straight to the drywall. You can build your frame around the existing glass without taking the mirror down, making this an ideal weekend DIY project for beginners.
What kind of glue should I use for a mirror frame?
You must use a mirror-safe construction adhesive or heavy-duty mounting tape. Standard adhesives can bleed through and ruin the silver backing on the mirror glass, causing dark, ugly spots to form over time.
Do I need a miter saw to frame a mirror?
While a miter saw makes cutting 45-degree angles much faster and more precise, you can also use a manual miter box and a hand saw. Alternatively, you can use butt joints with decorative corner blocks to avoid cutting angles altogether.
How do I keep the frame pieces from sliding down the glass while the glue dries?
Use heavy-duty blue painter’s tape or masking tape to hold the frame pieces firmly against the glass and wall. Apply the tape vertically from the frame to the wall until the construction adhesive sets completely.
Can I frame a mirror in a humid bathroom?
Yes, but you need to choose your materials wisely. Use moisture-resistant wood like cedar or poplar, or opt for synthetic materials like PVC and polystyrene molding that will not warp or rot from bathroom steam.
How do I handle mounting clips if my mirror has them?
If your mirror has plastic or metal clips holding it to the wall, you will need to notch out the back of your wood frame using a chisel or router so it fits flush over the clips. Another option is to replace the clips with mirror adhesive and remove them entirely before framing.