How to Stick a Mirror to Wall? [Read To Know How]
Want to know how to stick a mirror to wall without dealing with messy hardware or heavy drills? This comprehensive guide walks you through every step of the process, from picking the right mirror adhesive to prepping your wall surface. Follow our expert tips to ensure your frameless mirror stays secure, level, and damage-free for years to come.
Hanging a mirror can instantly transform a small room, bounce natural light around, and add a touch of elegance to your hallway or bathroom. But if you are dealing with a heavy frameless mirror, standard picture hooks just will not cut it. You need a rock-solid method that keeps the glass flat against the surface. Learning how to stick a mirror to wall safely is easier than you might think, and you do not even need to be a professional contractor to get it right.
Many homeowners shy away from using direct adhesives because they worry the glass will slip, slide, or crash down in the middle of the night. The secret to success lies in proper preparation, using the correct mirror adhesive, and giving the glue enough time to cure. Whether you want to mount a full-length dressing mirror on your bedroom door or create a stunning bathroom vanity setup, this guide will walk you through the entire process step by step.
Key Takeaways
- Choose the right adhesive: Always use a mirror-safe mastic or heavy-duty double-sided mirror tape to avoid damaging the reflective backing.
- Prep the surface: Clean the wall thoroughly with rubbing alcohol and let it dry completely to ensure maximum bond strength.
- Mark your lines: Use a level and pencil to outline your mirror position before applying any glue.
- Provide bottom support: Temporarily screw a wooden ledger board into the wall to hold the mirror weight while the adhesive cures.
- Press firmly: Apply even pressure across the entire surface of the mirror to squeeze out air bubbles and secure the bond.
- Let it cure: Allow the adhesive to cure for at least 24 to 72 hours before removing any support brackets.
Choosing the Right Materials and Tools
Before you even touch the wall, you need to gather the right supplies. Using the wrong glue is the number one reason DIY mirror projects fail. Standard construction adhesive or hot glue can eat away at the silver backing of the mirror, causing black spots and corrosion to form over time.
Essential Supplies for Mirror Mounting
To do this job right, make sure you have the following items ready in your workspace:
- Mirror-safe adhesive, mastic, or heavy-duty mirror mounting tape
- A caulk gun (if your adhesive comes in a tube)
- Isopropyl rubbing alcohol and a clean microfiber cloth
- A tape measure and a reliable spirit level
- A pencil for marking guide lines
- Painter’s tape
- A temporary wooden support board and screws
- Safety gear, including thick work gloves and protective eyewear
Always double-check the label on your adhesive. Look specifically for products labeled “mirror mastic” or “safe for mirror backings.” These formulas are specially designed to hold heavy glass without reacting chemically to the silver coating.
Preparing the Wall Surface
Preparation is the most critical part of learning how to stick a mirror to wall. If your wall is dusty, greasy, or freshly painted with flat latex paint, the adhesive will bond to the paint particles instead of the wall itself. This can cause the paint to peel off, taking your mirror down with it.
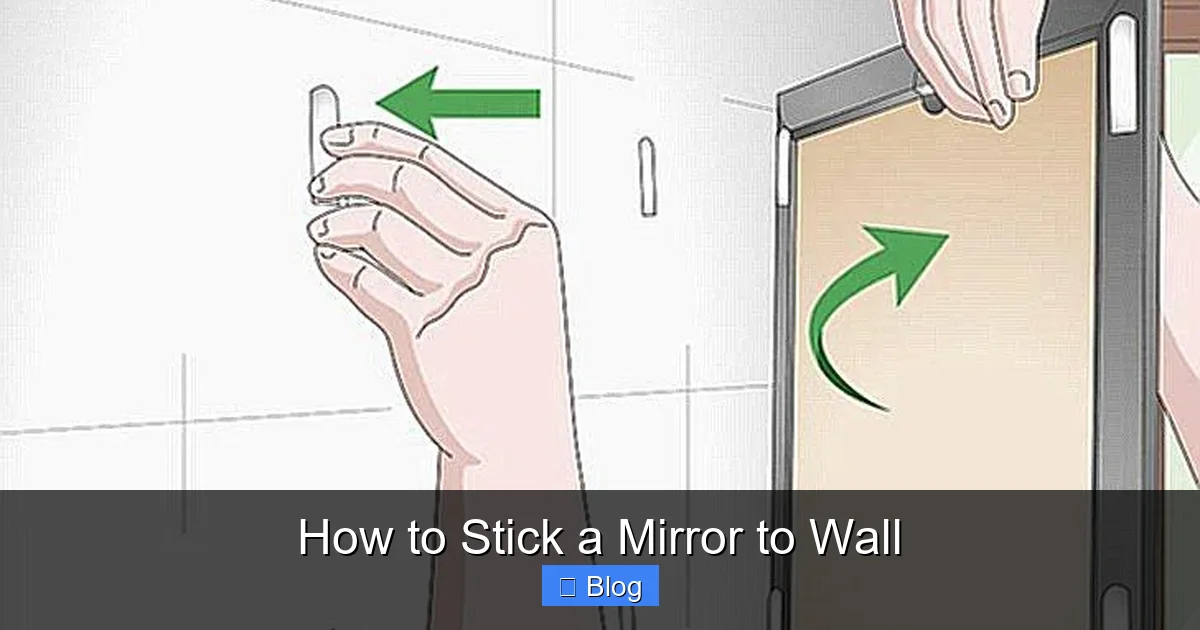
Visual guide about How to Stick a Mirror to Wall
Image source: gluethings.com
Cleaning and Priming the Area
Start by wiping down the wall area with a damp cloth to remove any loose dust or debris. Once the wall is dry, take your microfiber cloth and rubbing alcohol. Wipe down the entire section where the mirror will sit. This removes hidden oils, grease, and fingerprints.
If your wall is covered in glossy paint, take a fine-grit sandpaper and lightly scuff the surface. This creates microscopic grooves that give the adhesive something extra to grip onto. Wipe away the sanding dust with a clean, dry cloth before moving on to the next step.
Planning and Marking the Placement
Getting your mirror straight on the first try is vital because once mirror mastic touches the wall, you only have a few minutes to adjust its position before it starts to grab.
Using a Level for Accuracy
Place your mirror against the wall where you want it to go, or measure its exact dimensions. Use a pencil to mark the bottom corners. Place your spirit level across these marks to ensure your starting line is completely horizontal.
Next, install a temporary wooden support ledger right along your bottom pencil line. Drive a couple of screws through the board and into the wall studs. This little shelf will support the entire weight of the mirror while the glue dries, preventing gravity from pulling the glass down while the adhesive is still wet.
Applying the Mirror Adhesive
Now comes the fun part. It is time to apply the adhesive to the back of the mirror. You want to make sure you use enough glue to distribute the weight evenly, but not so much that it squeezes out the sides when you press the glass against the wall.
Techniques for Glue Application
Lay your mirror face down on a soft, clean blanket or piece of cardboard to protect the glass from scratching. Clean the back of the mirror with rubbing alcohol just like you did with the wall.
Apply your mirror mastic in vertical stripes spaced about four to six inches apart. Avoid putting glue too close to the outer edges of the mirror. If you place it right on the edge, the adhesive might ooze out the sides when you press it down, creating a messy cleanup job. Leave at least a two-inch gap around the entire perimeter so air can circulate and help the adhesive dry properly.
If you are using heavy-duty double-sided mirror tape, apply vertical strips alternating with your blobs of mastic. The tape provides an instant hold, keeping the mirror in place while the mastic cures over the next 24 to 48 hours.
Mounting the Mirror to the Wall
With the adhesive applied, you are ready to mount the mirror. This is a great time to enlist a friend to help you lift and position the glass safely, especially if you are working with a large vanity mirror.
Pressing and Securing the Glass
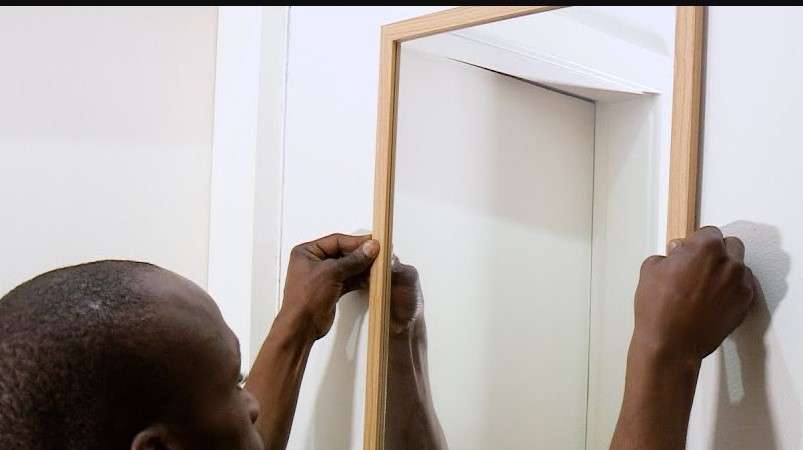
Lift the mirror carefully and rest the bottom edge gently on your temporary wooden support ledger. Slowly tilt the top of the mirror toward the wall, making sure your side edges align with your pencil guide marks.
Once the mirror touches the wall, press firmly and evenly across the entire surface. Start from the center and work your way outward toward the edges. This pushing motion helps spread the mastic into a uniform layer and squeezes out any trapped air pockets.
To keep the mirror from tipping forward while the glue dries, apply several strips of strong painter’s tape from the face of the mirror onto the wall. Press the tape down securely.
Curing Time and Final Cleanup
Patience is your best friend when mastering how to stick a mirror to wall. Even if the mirror feels secure right away, the adhesive needs time to reach its maximum strength.
Removing Supports and Enjoying Your Work
Leave the temporary wooden support board and the painter’s tape in place for at least 24 to 48 hours. If your mirror is exceptionally large or heavy, wait a full 72 hours before removing the support ledger.
Once the curing time has passed, carefully unscrew the wooden ledger board from the wall. Peel away the painter’s tape gently. If you notice any small bits of dried adhesive around the edges, use a razor blade scraper held at a shallow angle to slice them away cleanly.
Give your newly mounted mirror a sparkling shine with a good glass cleaner and a lint-free cloth. Stand back and admire your handiwork, knowing your mirror is firmly and safely secured to the wall.
Frequently Asked Questions
Can I use regular construction glue to stick a mirror to the wall?
No, you should never use standard construction glue. Most all-purpose adhesives contain harsh solvents that will eat through the protective silver backing of the mirror, causing dark stains and ruined reflections.
How long do I need to hold the mirror in place?
You do not need to hold it by hand for hours. By using a temporary wooden support ledge at the bottom and strong painter’s tape on the face, the mirror stays securely in position while the adhesive cures.
Can I stick a mirror directly onto textured walls?
It is difficult to get a strong bond on heavily textured walls because the adhesive only touches the high points of the texture. For textured surfaces, you may need to sand the area flat or use mechanical mounting clips alongside the adhesive.
What is the best adhesive for hanging heavy mirrors?
Specialized mirror mastic is the industry standard for heavy glass. It is formulated to support heavy loads without reacting chemically with the mirror backing.
Can I remove a glued mirror later without breaking it?
Removing a glued mirror is very difficult and often results in the glass shattering. If you must remove it, professionals usually use a thin guitar string or piano wire to saw through the adhesive behind the mirror.
Do I need air gaps behind the mirror?
Yes, leaving space between the adhesive beads and avoiding adhesive right at the edges allows air to circulate. This airflow is essential for the moisture-curing process of the mirror mastic.